If you’ve been following along with our coop adventures, you know that we have closely documented the build of our coop and runs (see our comprehensive Coop Tour post) and then later explained how we keep the coop clean (see Coop Cleaning Tips). And now…we bring you a DIY tutorial below on wallpapering a chicken coop! Plus information on our new roost material and why we LOVE them so much.
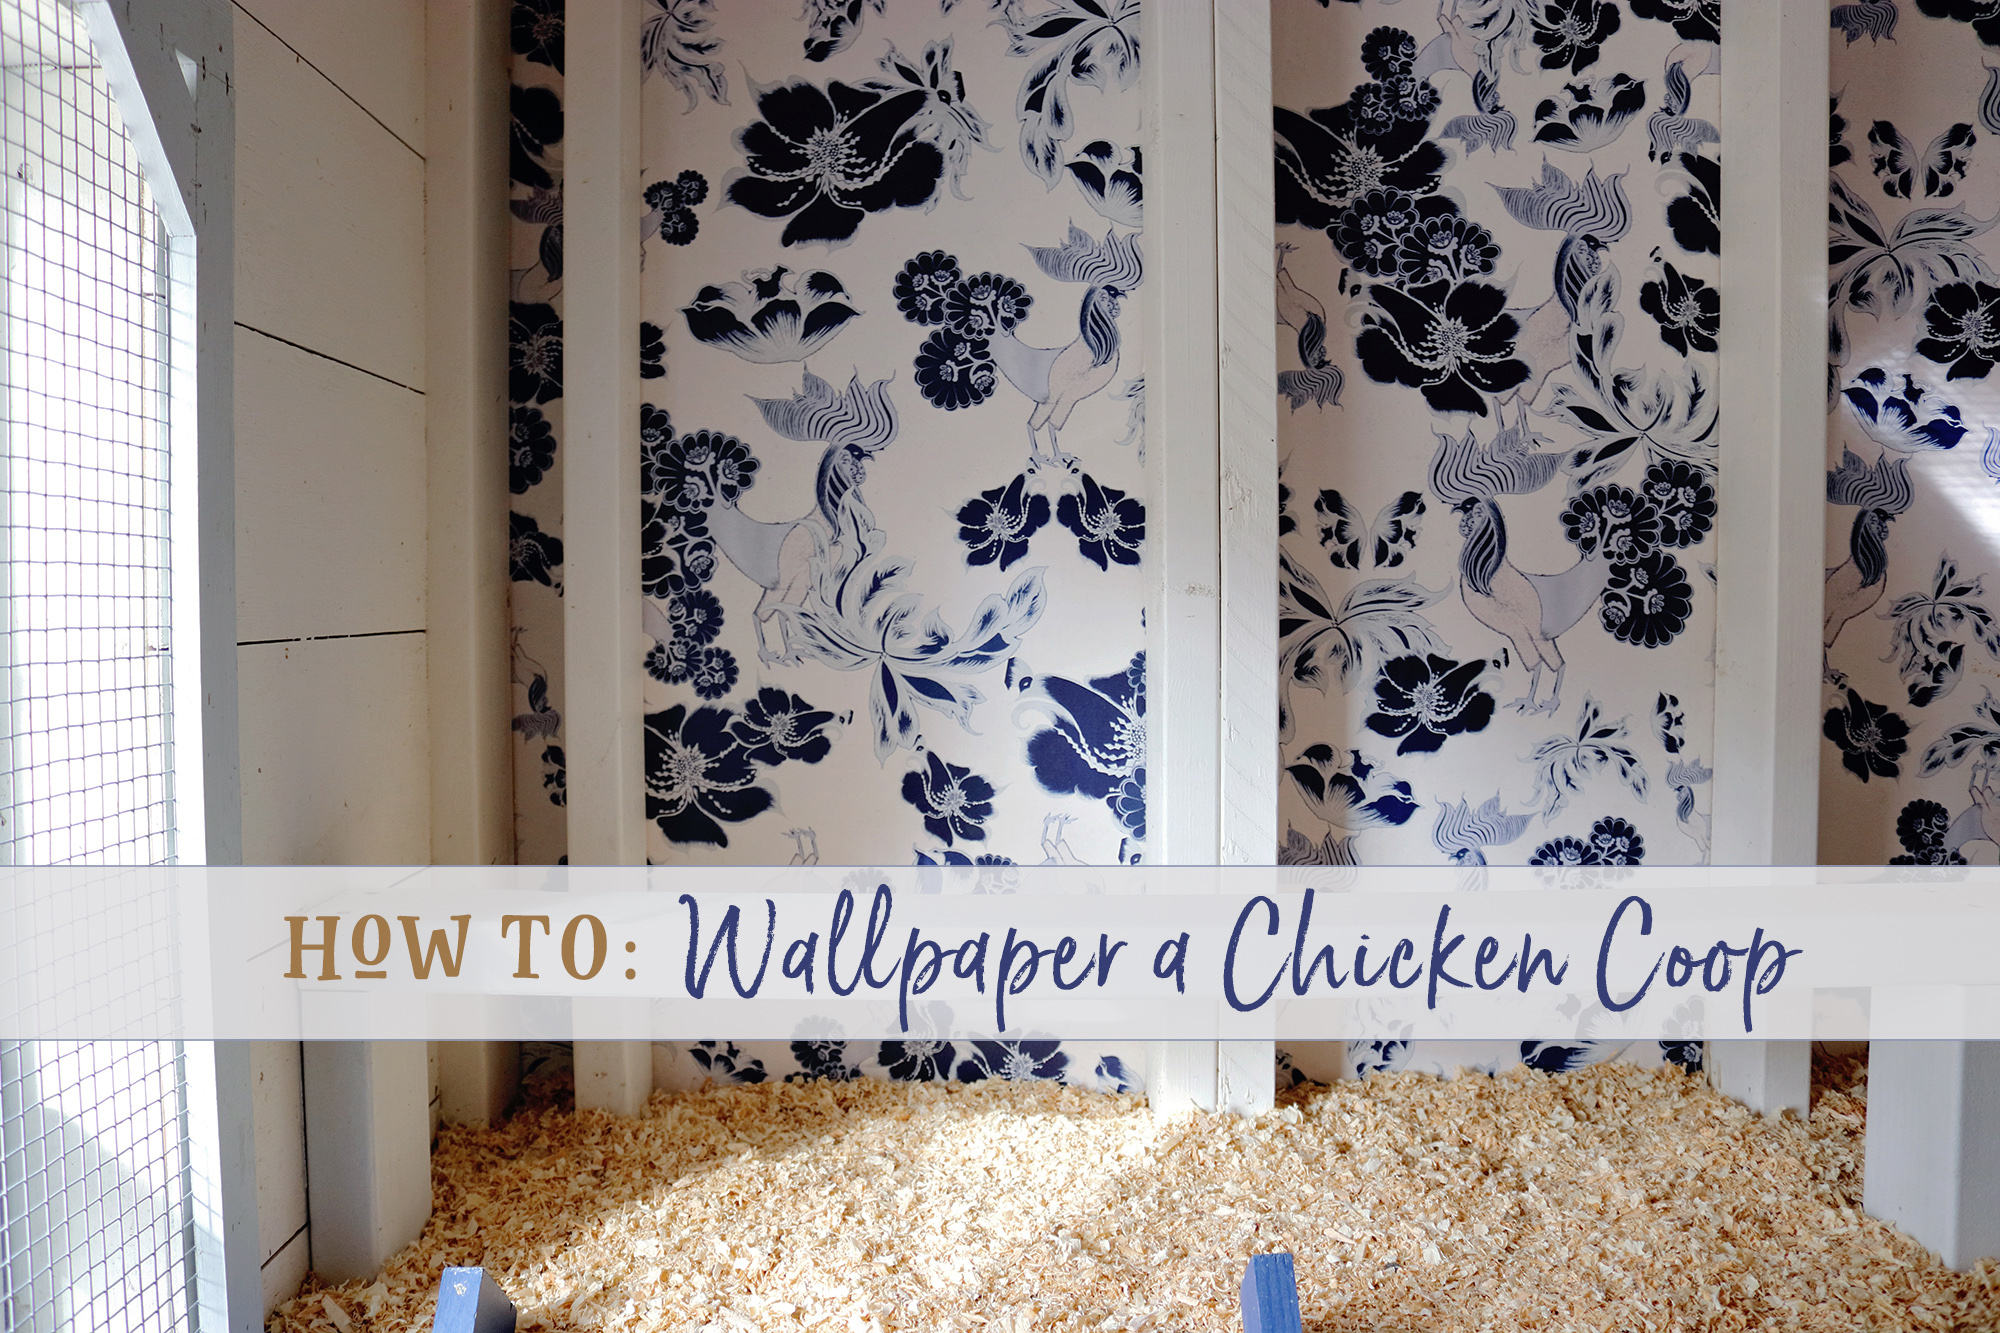
Recent Changes Made to the Coop…
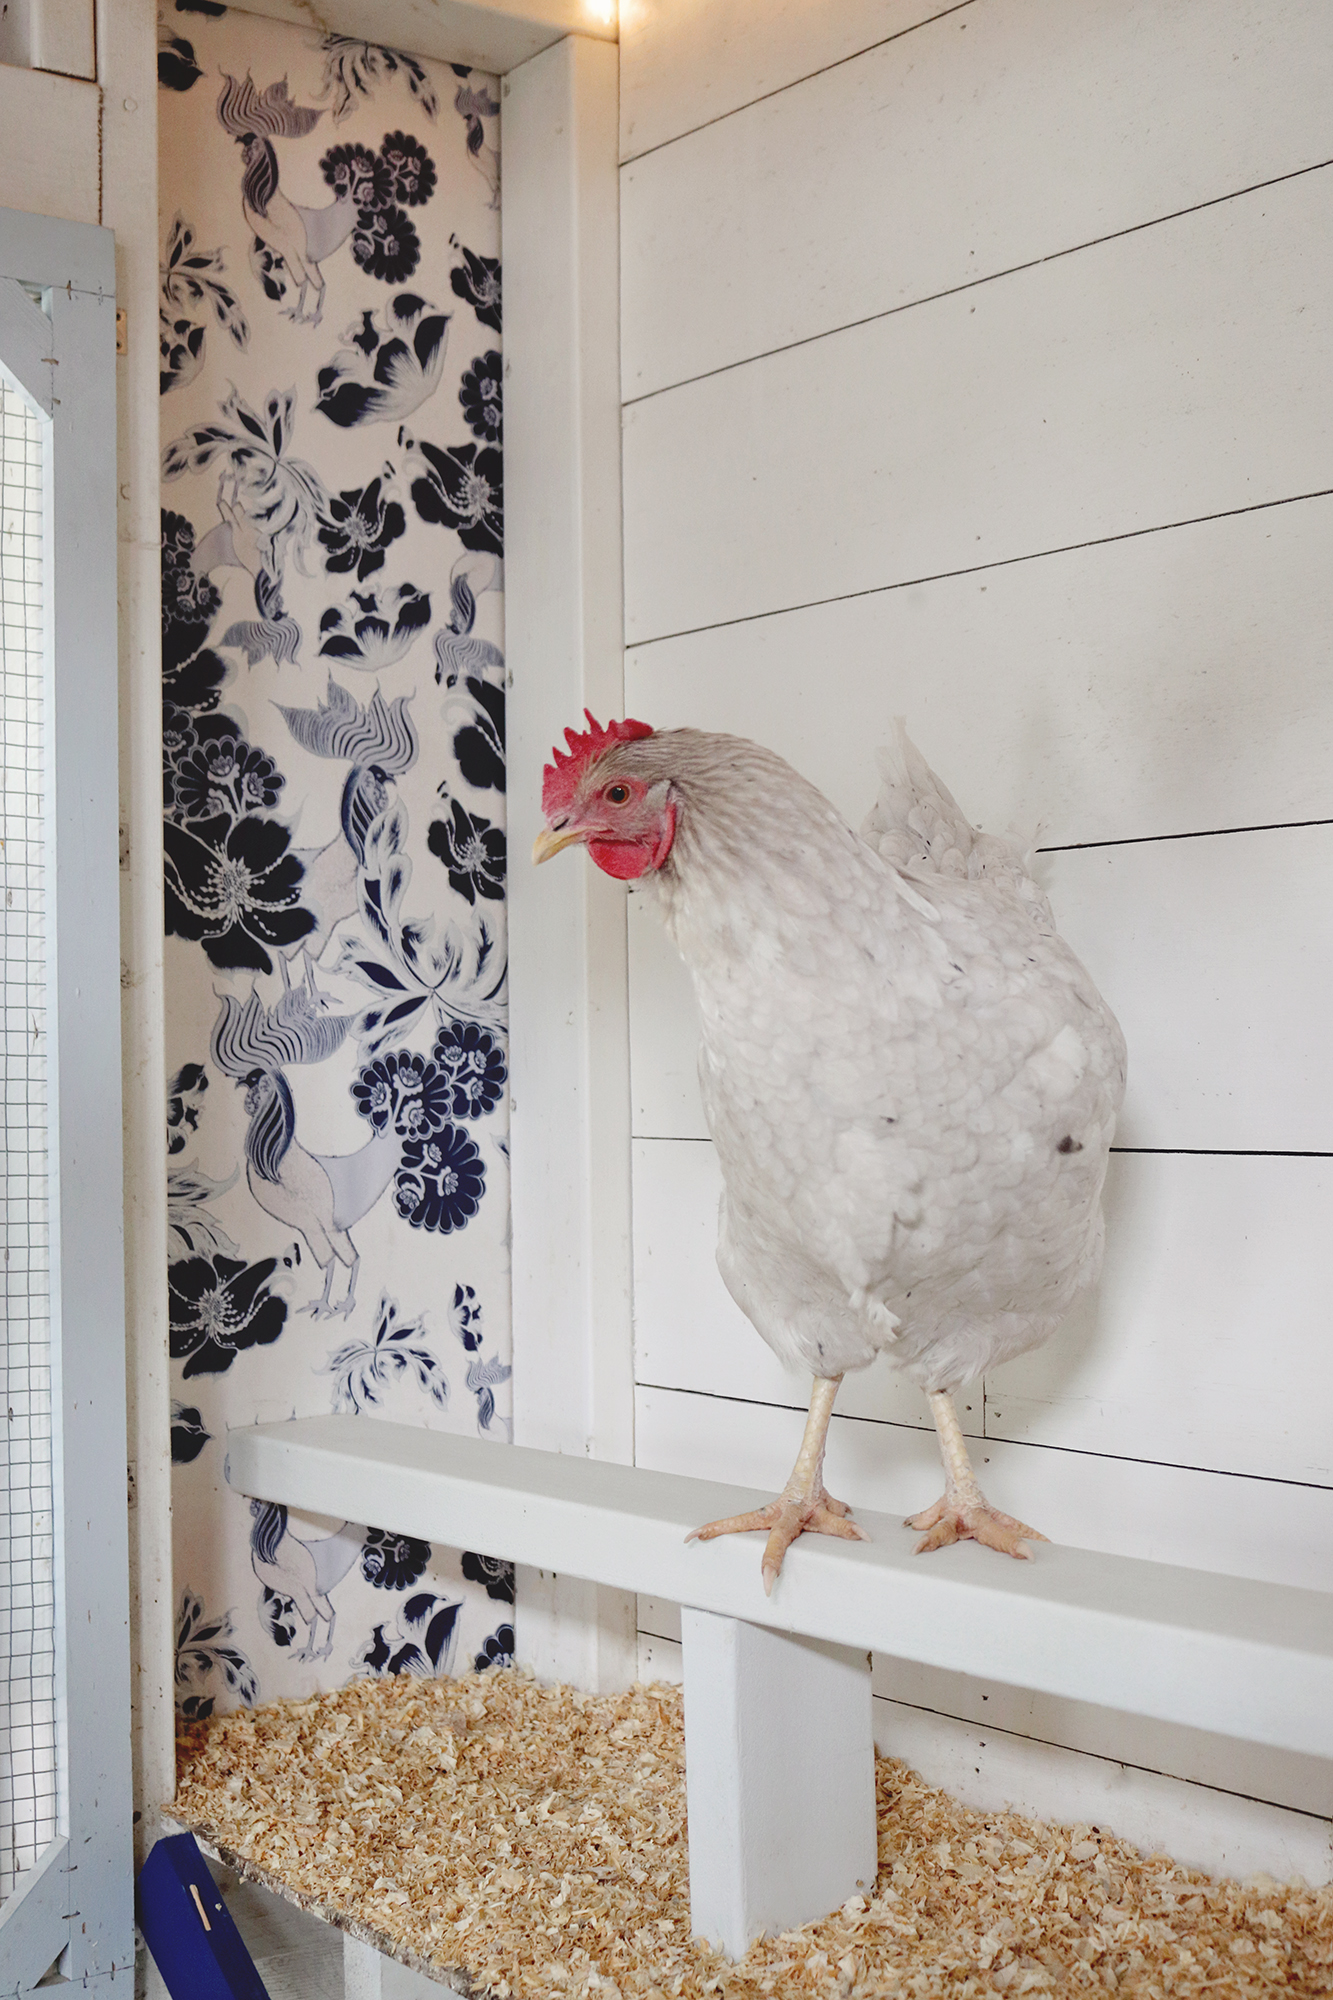
Trial and error with the design and functionality of the inside of a chicken coop means figuring out what works and what doesn’t work. For example, we loved the look and the functionality of the contact paper on the walls behind the roosts, we didn’t love that with weather changes and dust and a few feisty chickens, the paper was aggressively peeling off the walls. We also loved the design of our removable roosts, but the painted wood was deteriorating fast every time I sprayed it down or scraped it clean, and the painted wood was causing the poop to stick to it even worse than raw wood. We also sewed some simple burlap nesting box curtains and Mr TLB Farm made some new ladders that we painted blue to match the wallpaper 🙂
Applying REAL Wallpaper to a Chicken Coop
Before we applied the contact paper, the walls behind the roosts (which are just white painted plywood) were getting splattered with poo. It was inevitable and we knew it would happen, and I wasn’t obsessed with having a clean coop ALL OF THE TIME, but I was determined to make our coop capable of being cleaned when I wanted to. All of the elbow grease and scrubbing in the world would not get the gunk off of the roughly textured walls and that’s when I had an “aha” moment and decided to apply contact paper as wallpaper.
The contact paper worked wonderfully, until of course it didn’t. We tried gluing down the corners, we even tried a few staples here and there, but the adhesive on the back side of the paper just wasn’t going to cut it.
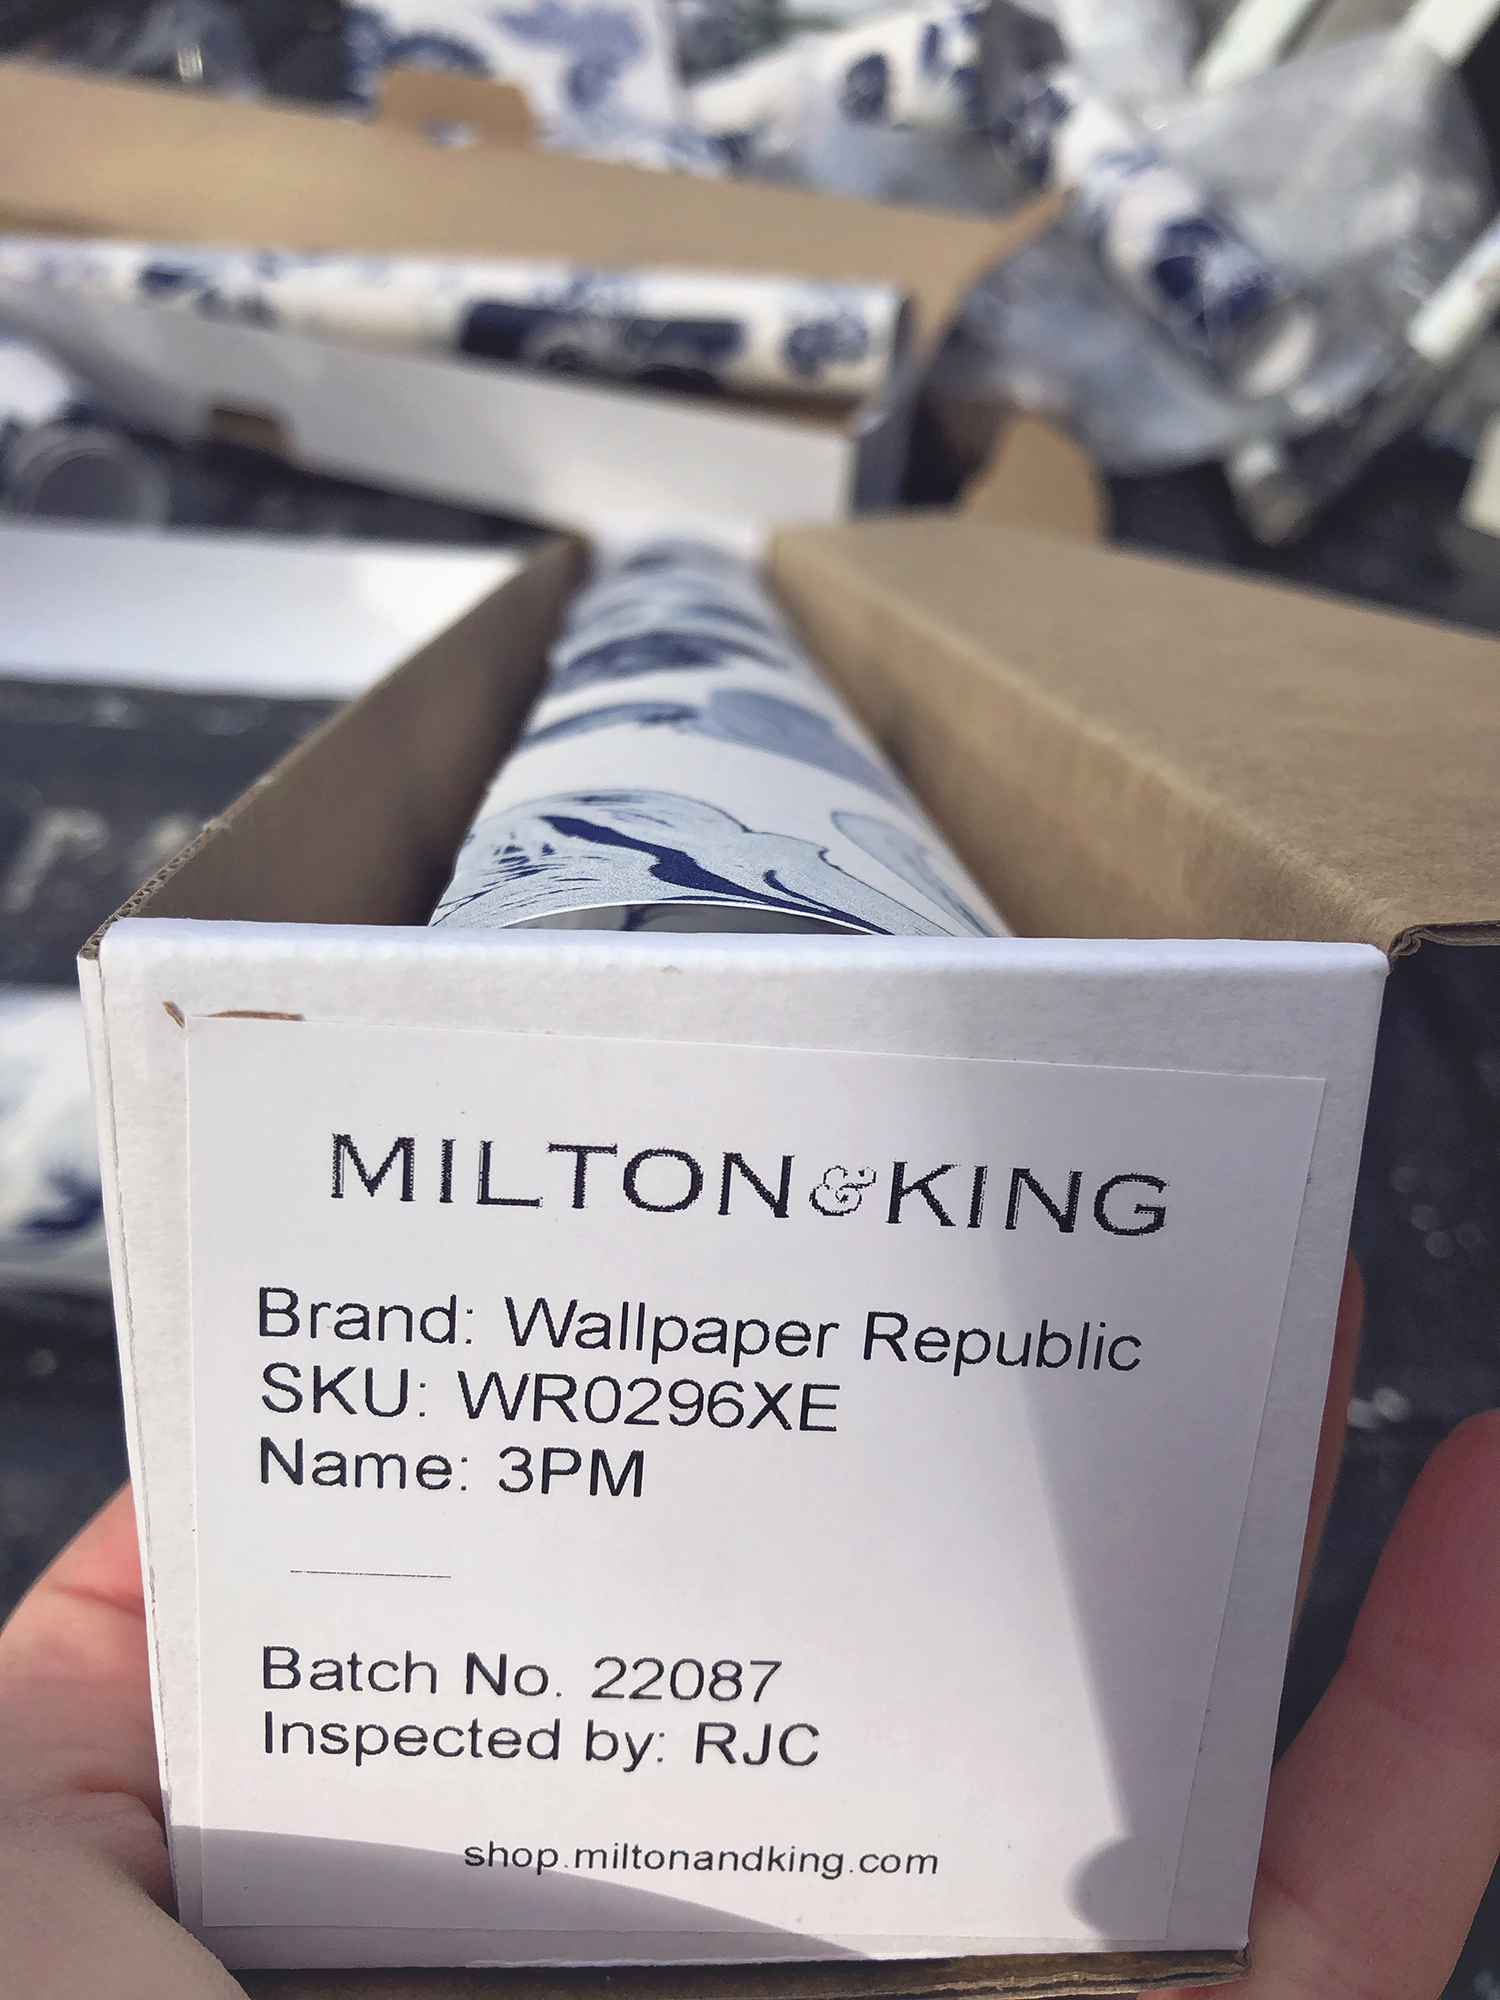
So…I made a crazy decision to install REAL wallpaper into the coop. Of course, this decision came after I found and swooned over this gorgeous farmhouse wallpaper with fancy, ornate roosters all over it (it’s called 3PM) from Milton and King
You might think I’ve gone completely bonkers for putting gorgeous, fancy wallpaper in a chicken coop, and I will admit that when it arrived and I opened it up I had some serious considerations to abandon the whole chicken coop project and put the wallpaper somewhere in my house instead. The kitchen? The powder room? OMG…the walk-in pantry!! Heck, I want this in my bedroom! But then I had to calm myself down and come to my senses as I realized first; I didn’t order enough of it to put it on larger walls (we don’t have to worry about matching pattern seams in the coop because we are paneling it, so we could order less material), and second, I need something covering the walls behind the roosts to allow for easy cleanup so I’m not scrubbing my life away. (video below)

top panels done – next up…bottom panels. You can see the texture of the wall we are applying the paper on – its just painted plywood
How to apply (textured coop walls):
We were a little worried about getting the wallpaper to stick to our coop walls since they weren’t completely smooth and had a fair amount of texture. We decided to just go for it, but first we cleaned them very well, making sure there was no dirt or dust and then waited for them to dry before applying the wallpaper paste (purchased at Lowes). At first we applied the paste with the roller that it came with before switching over to a rough bristled paint brush. We quickly figured out that we had to apply a lot more paste than we thought because of the texture to our walls. Once we got a nice even thick coat on, the paper adhered perfectly.
Watch our quick installation video
- Remove anything poking out of walls such as nails or screws, etc. Sand down any areas that could interfere with good adhesion
- Clean any dirt, dust or poo off of the walls and then let dry completely
- Choose a small area to begin and measure the height and width of the area
- Cut wallpaper to size with a slight overhang on top, bottom and sides (about an inch)
- Dry fit the paper to your area and then set aside
- Apply wallpaper paste to the section using a stiff bristled paint brush. Apply evenly but generously, making sure the paste is filled into any and all cracks and crevices (it helps to apply in brush strokes going in all different directions)
- Carefully apply the wallpaper to your area by pressing one side in and getting it straight and flush, then smoothing the paper down onto the other side and top and bottom. You will be able to slide the paper around and lift it up and readjust it if need be, but you don’t want to move it around too much or you could introduce dirt or dust to the glue
- Use a wallpaper smoothing tool to smooth out any lines or bubbles and get a really good bond with the paste on all sides, corners and middle of the area
- Trim the excess paper at your joint lines with a sharp razor blade using the smoothing tool as a guide
- Wipe up any residual glue on the paper with a damp sponge
The BENEFITS of wallpaper:
Have you ever dreamed of walking into your coop with just a warm damp sponge and taking 2 minutes to wipe down walls and have it look brand new EVERY SINGLE DAY!? No? Just me? Well darn it if it isn’t the stuff dreams are made of. I mean, we worked SO HARD to build the thing, I want to keep it looking nice, but I don’t want to spend hours cleaning it. That’s not fun. Every design of our chicken coop was centered around being both functional and easy to clean, with a little glamour thrown in just for fun.
With wallpaper, the dirt and poo don’t stick! You literally just wipe it up in seconds and it’s so quick and easy to keep it looking like new. Plus, it looks really pretty and cozy. Win win!
Watch and see how easy it is to clean
Changing out the ROOSTS
Roosts/perches have come a long way since I’ve been raising chickens. It used to be that round roosts (like a wooden closet rod) was the way to go. Then, it was real tree branches that gave that rustic feel and the chickens supposedly preferred them to the smooth rods. Then news broke out that the way to prevent frost bite on the legs and feet was to have flat 2x4s as roosts so that when the chickens lay down to perch at night, more of their body heat can reach their feet. But the problem with raw wood 2x4s is that they are very porous and make wonderful homes and breeding grounds for mites (specifically scaly leg mites), so the idea was to seal the wood by priming and painting or the old fashioned way of a true white-wash by using lime.
The design of our original roosts worked very well for us. We built them to be removable as one unit by just unscrewing a couple of screws on the bottom of our dropping boards so we can take them out of the coop to do a quick spray down with a hose or pressure sprayer a few times a year. The issue with painted wood though, is that eventually the paint starts to come off with repeated washing or scraping and the paint on the wood actually causes the poop to stick VERY badly. In short, things stick very well to painted wood.
Then Mr TLB Farm suggested we try a different product all together. A wood look alike if you will, primarily used for decking because it doesn’t age or weather and doesn’t require painting because it is already white through and through (or black, gray, brown etc.). Even when you cut the pieces, the insides are white! It’s plastic lumber called Bear Board. Because its engineered plastic, it isn’t porous like real wood so there can never be anything living inside our roosts and the poop will never get ground in to the wood. It all just literally wipes up in seconds with a sponge. Even dried, smashed, crusty or the dreaded “molasses-like” poop comes right off. SO great. Okay enough about poop…
Here’s what the Bear Board website lists as benefits to plastic lumber vs. wood lumber. Can you see why it would be ideal in a chicken coop?
Ownership Benefits
- Will not rot, crack, peel, or splinter
- Minimal maintenance
- Guaranteed to last for at least 50 years
- Stain resistant
- Graffiti-proof
- Waterproof—salt water or fresh water
- UV resistant
- Impervious to insects and bacteria
- Not affected by exposure to cleaning products, chemicals, severe weather or intense sunlight
- Requires no painting or sealing
- Easy to clean
- Mold and mildew resistant
Economic Benefits
- No expensive long-term maintenance
- No replacement costs
Aesthetic Benefits
- Available in a wide variety of colors
- Wood grain finish mimics the classic look of wood
- Cost-efficiency saves money for private consumers, local governments, and outdoor recreation organizations
- Enhances the look of parks, homes and other sites while resisting graffiti and other common vandalism

Roosts that stay clean?? It’s a miracle!
Speaking of wiping up with a sponge, I have a new favorite natural cleaner for the coop I wanted to share with you. Aside from making my own cleaner with vinegar and orange peels, this stuff is the best I have found. I get it from Grove Collaborative but its made by Counter Culture.
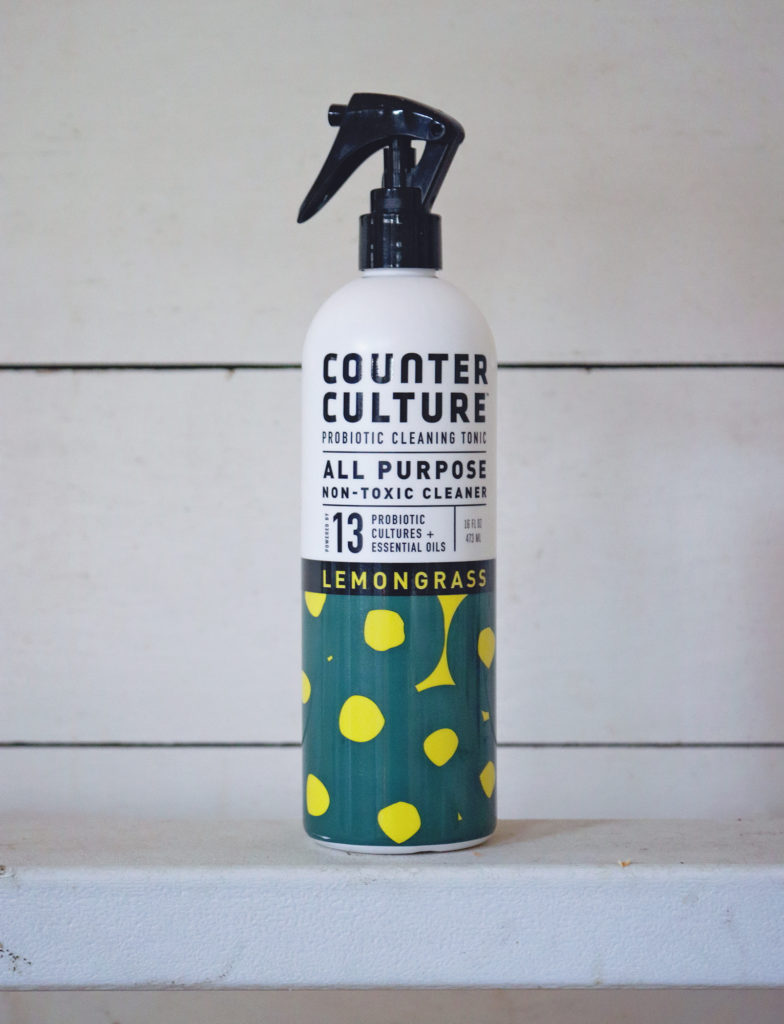
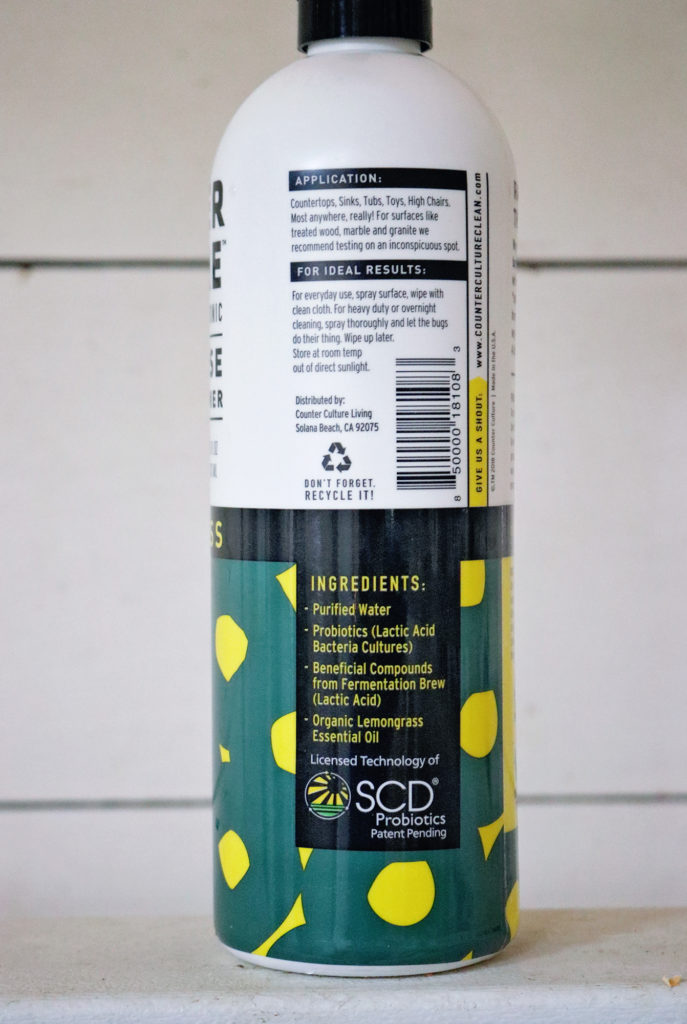
Check out those amazing ingredients! And it smells really nice too. I can spray it wherever is needed and don’t have to worry about chemicals.

Coop smells nice Ma! 🙂


CHOOK APPROVED!
So what do you think about wallpaper in a chicken coop? Would you give it a go?


So in love with your coop! You have inspired me to update my coop!!! The wallpaper is genius. What type of paint do you use inside your coop?
Thank you so much for sharing!
Thank you so much! We used a custom color by Sherwin Williams with the primer already in it called “cream delight”
I love it!! I want to do this!!
How far is your roosting bar from the walls? Beautiful set up! I have a blank coop now and I wanted wallpaper specifically for cleaning, but couldn’t find anyone with the same crazy idea
I’m curious about the Bear Board. Did you have any concerns with it being slick and hard for them to keep a good grip on since it’s plastic? Or maybe it has some texture to it? Was this a concern at all for you? Do they seem to not have a problem with it? As you can see, I’m very curious about this product and love the idea of being able to clean the roosts so easily – I spend so much time scrubbing them even though they’re painted. Thanks!
The Bear board looks and feels like real wood. Very hard to tell the difference! It is textured like wood so its not slick at all and the chickens have no trouble with slipping or being unable to grip. You can order samples from the company and they will send you a small piece of it, so you can see the texture for yourself.
Adorable:-)
And I like the little curtains .
Your coop is beautiful! We just built a new coop and I was going to use contact paper over plywood, but saw this before doing so and you sold me on the wallpaper! I found one from Milton & King and we just got it up yesterday. Thanks for the inspiration!
Love the Wallpaper! Was it the removable paper or regular?