Jump links:
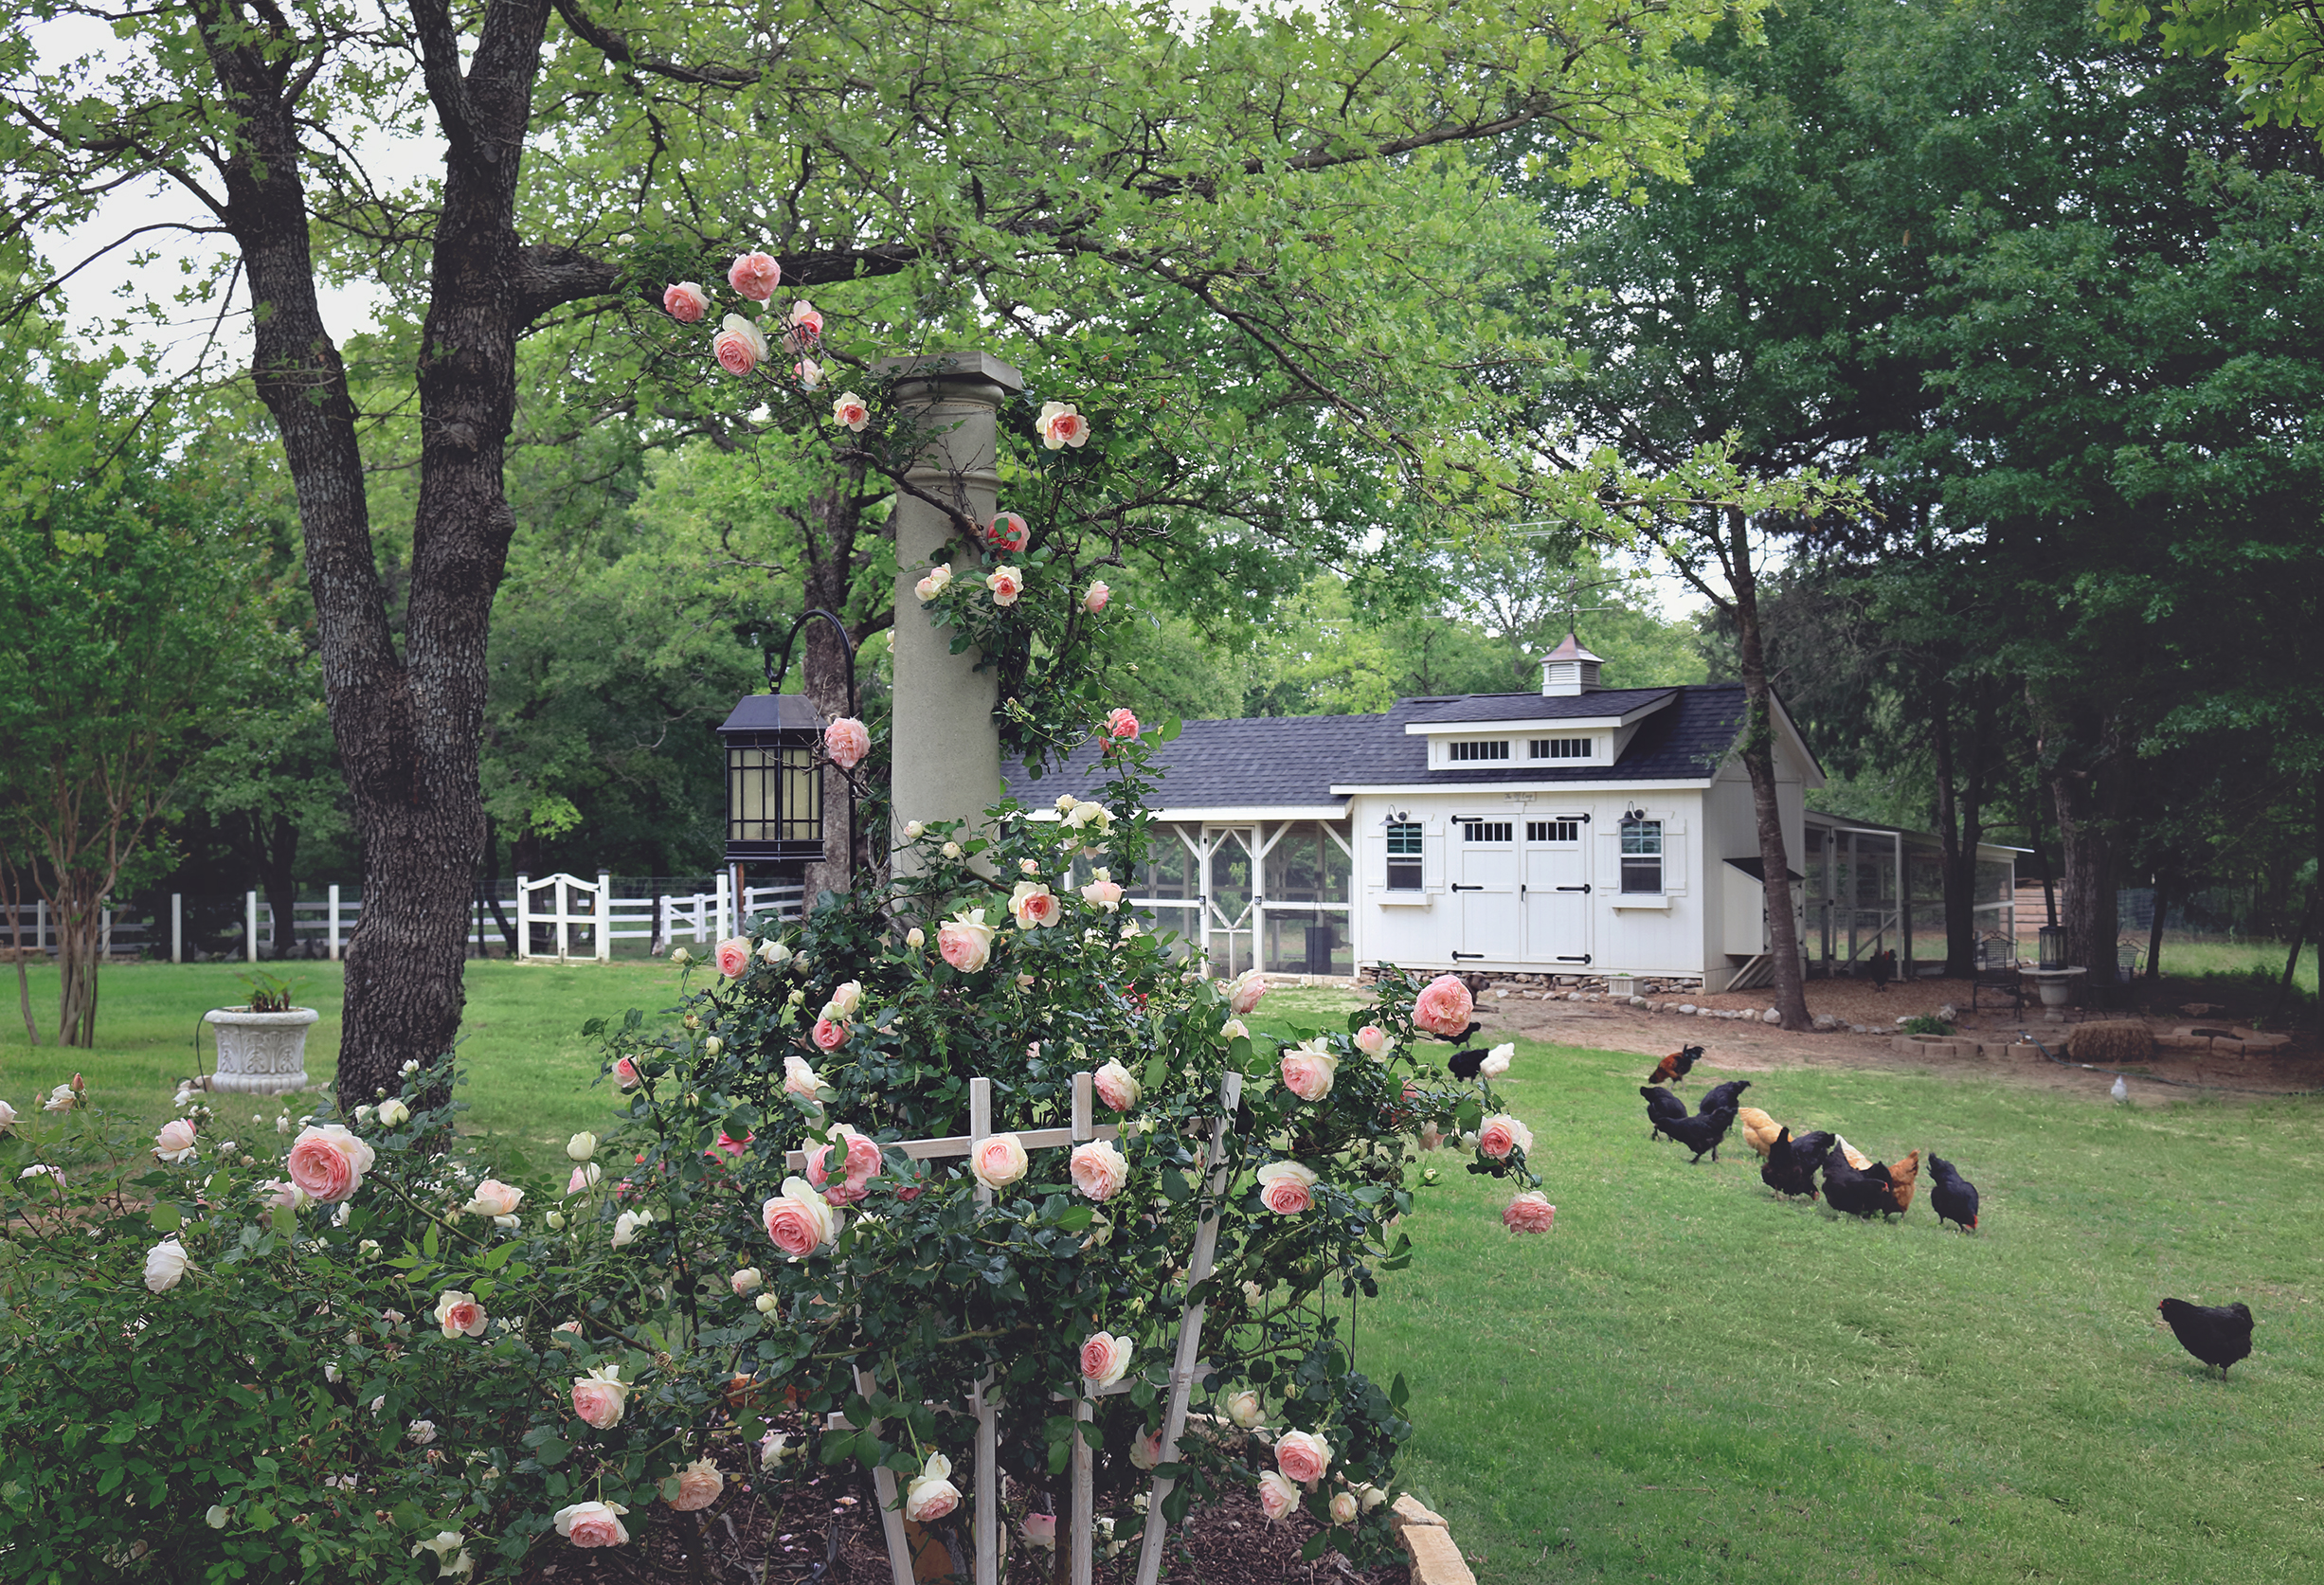
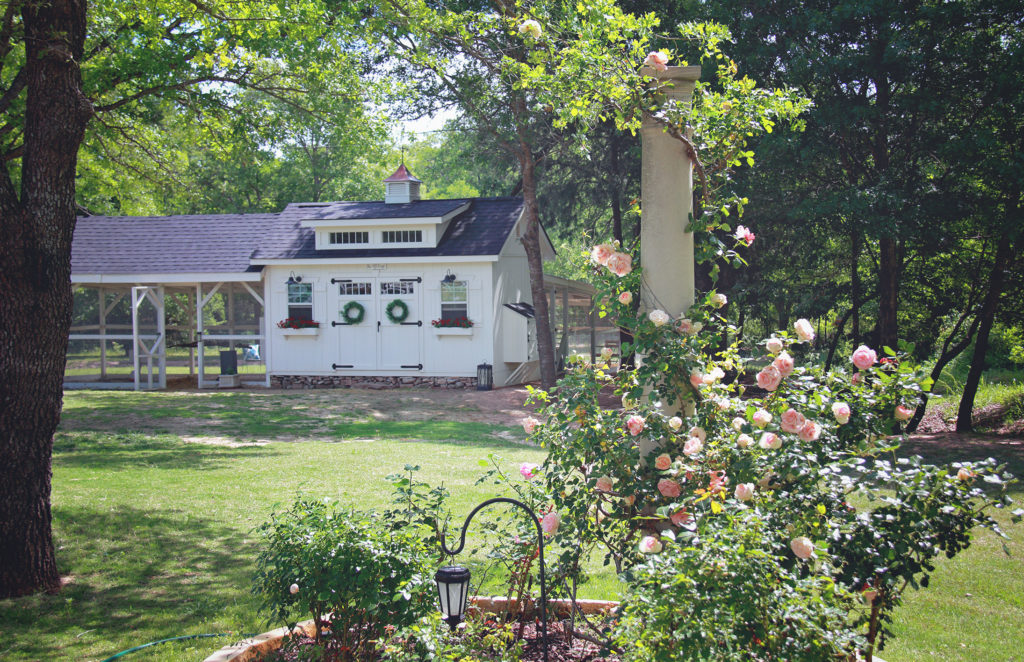
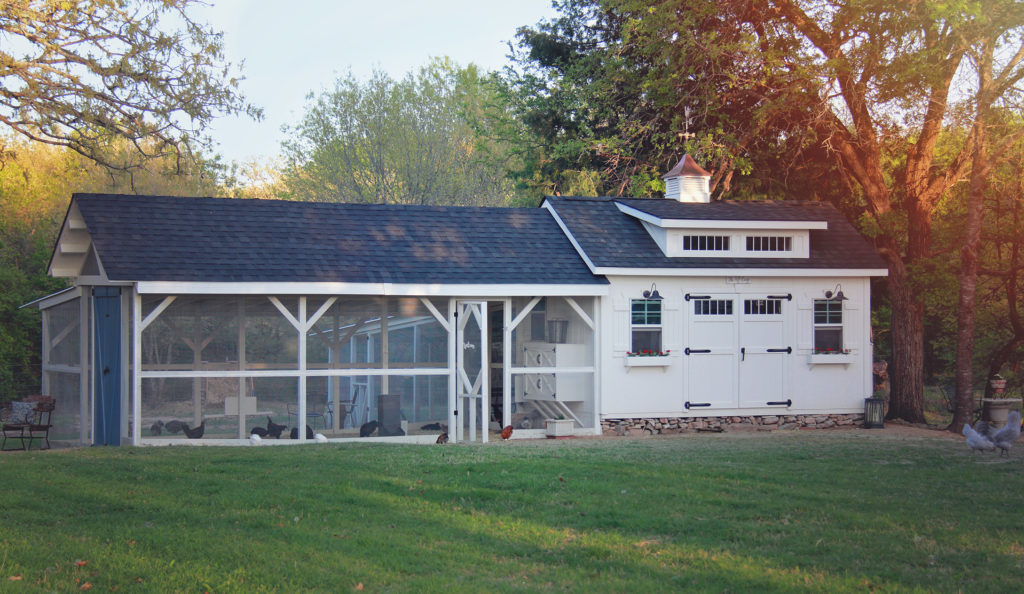
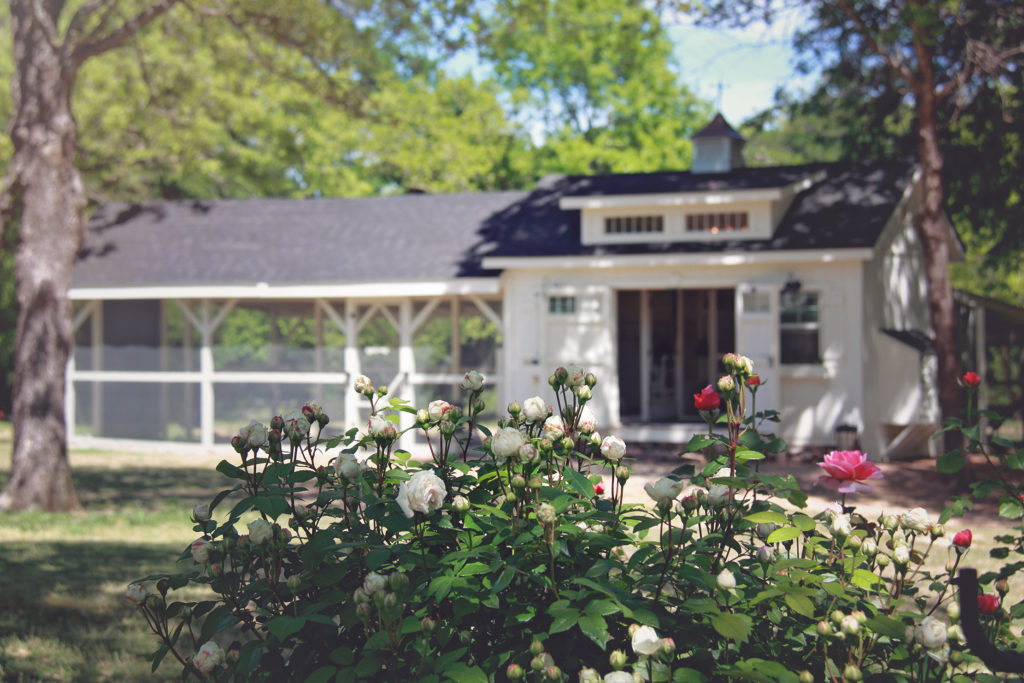
Late May 2020
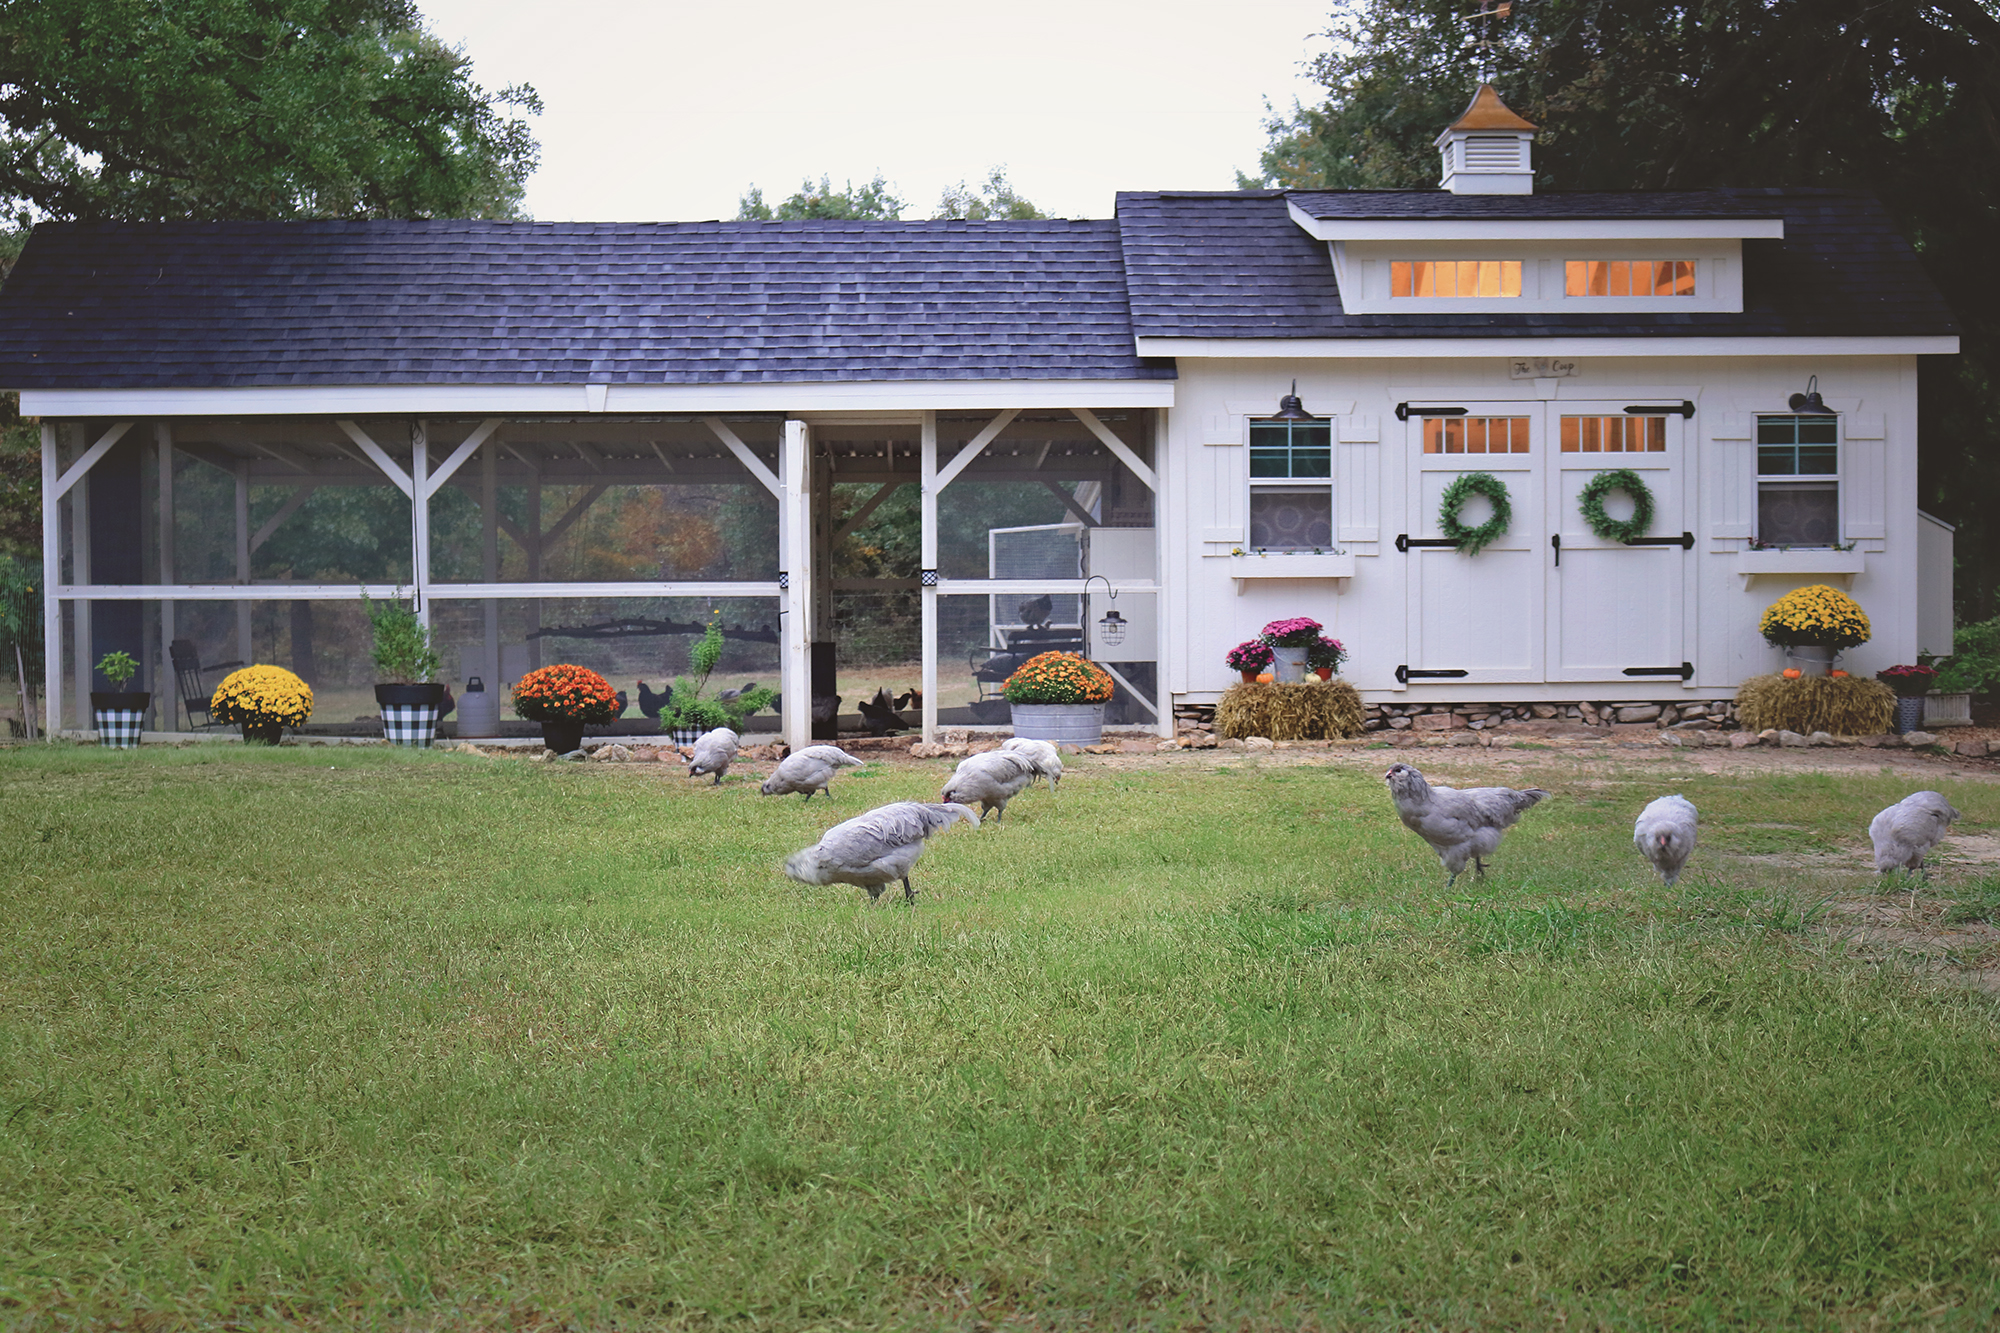
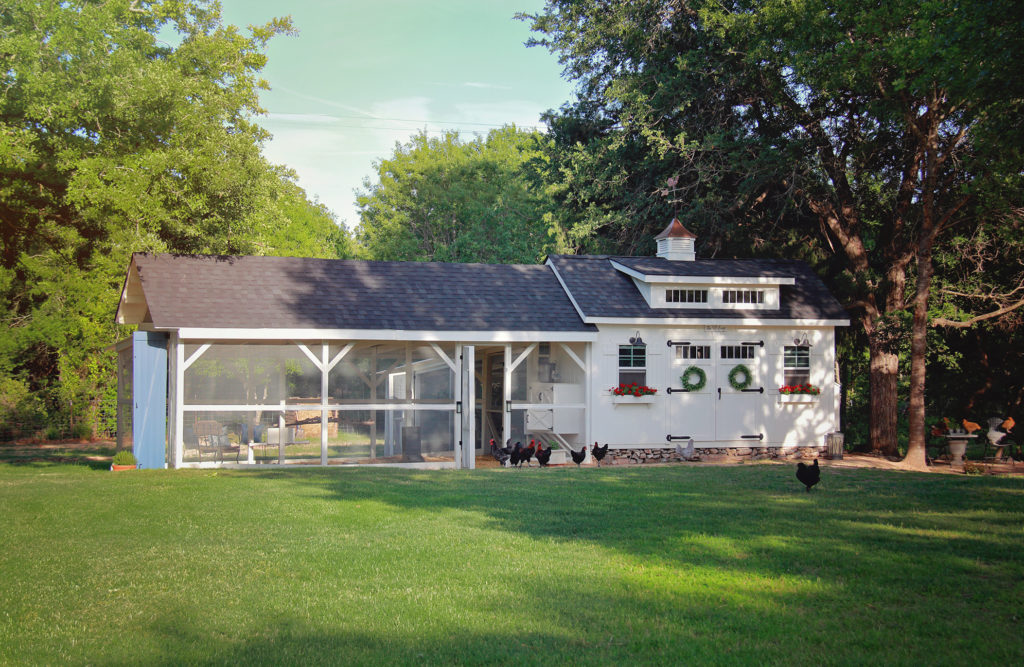
October 2018
September 2018 – cross fencing was added to the left side of the coop
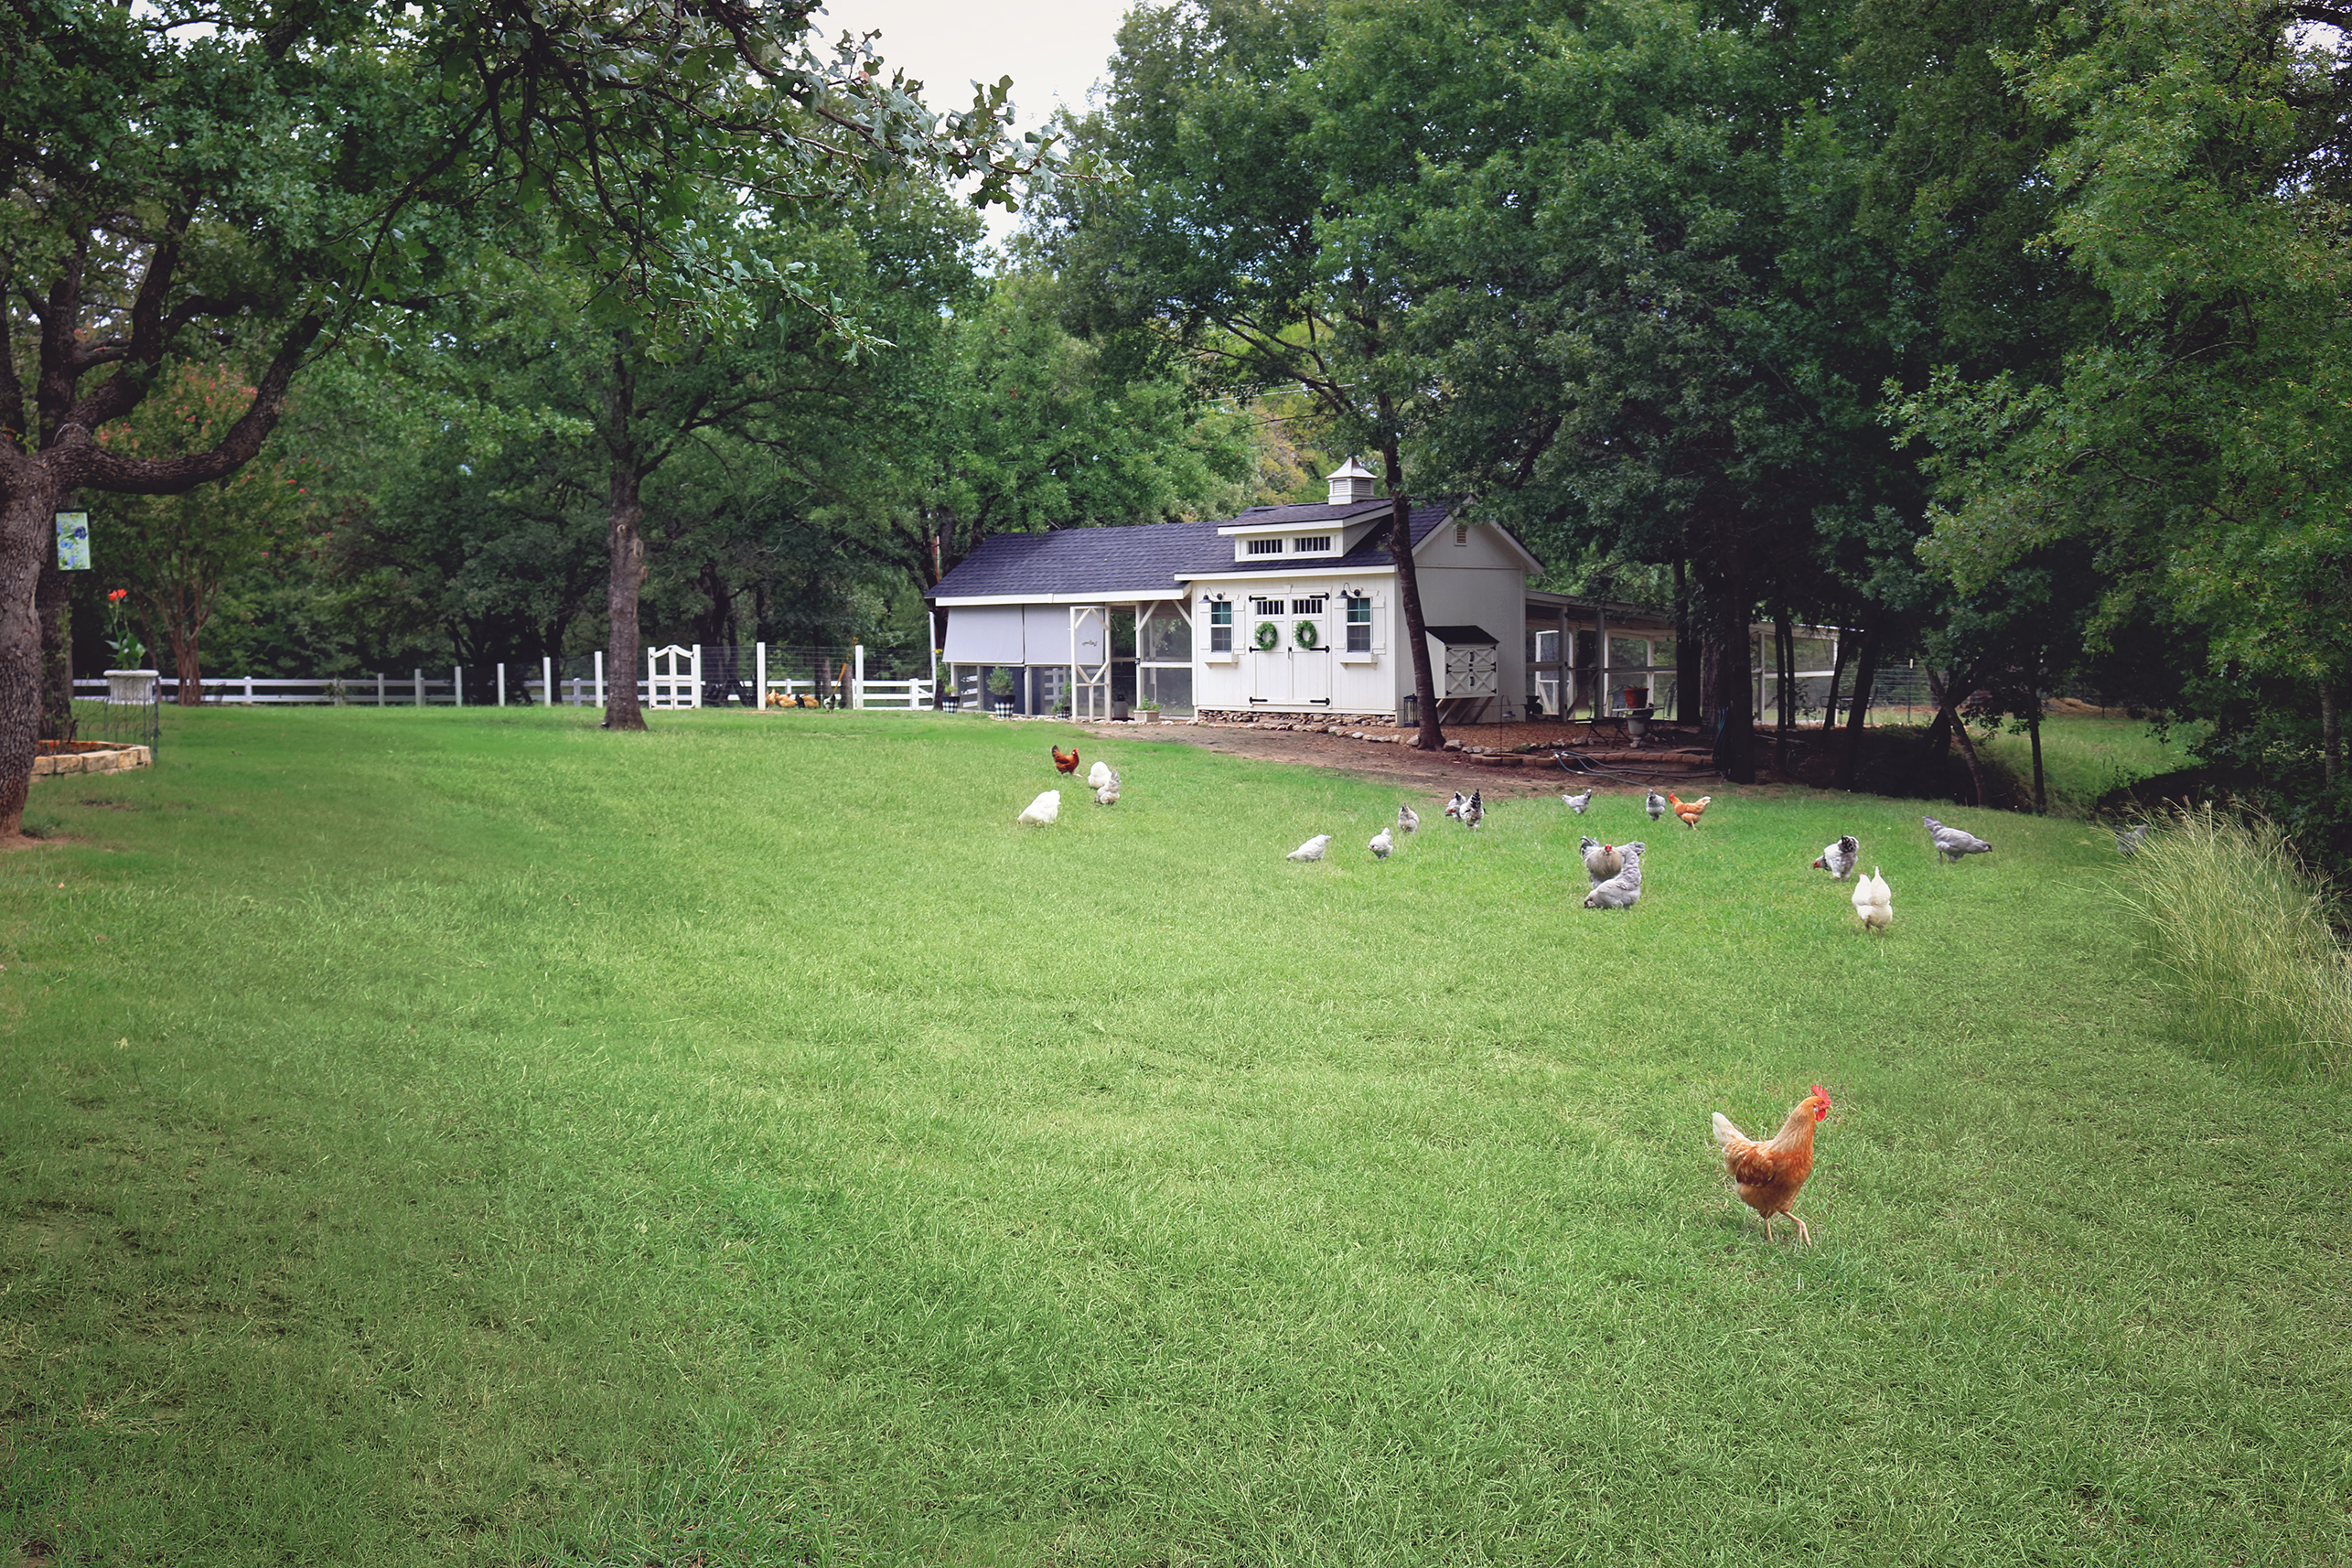
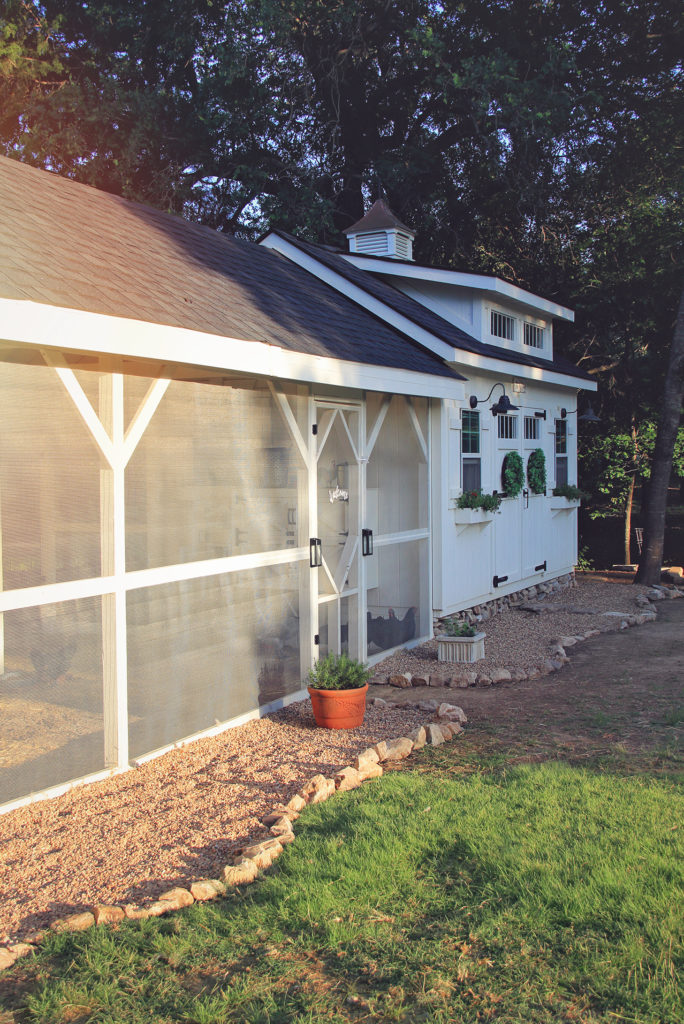
Late Summer 2018
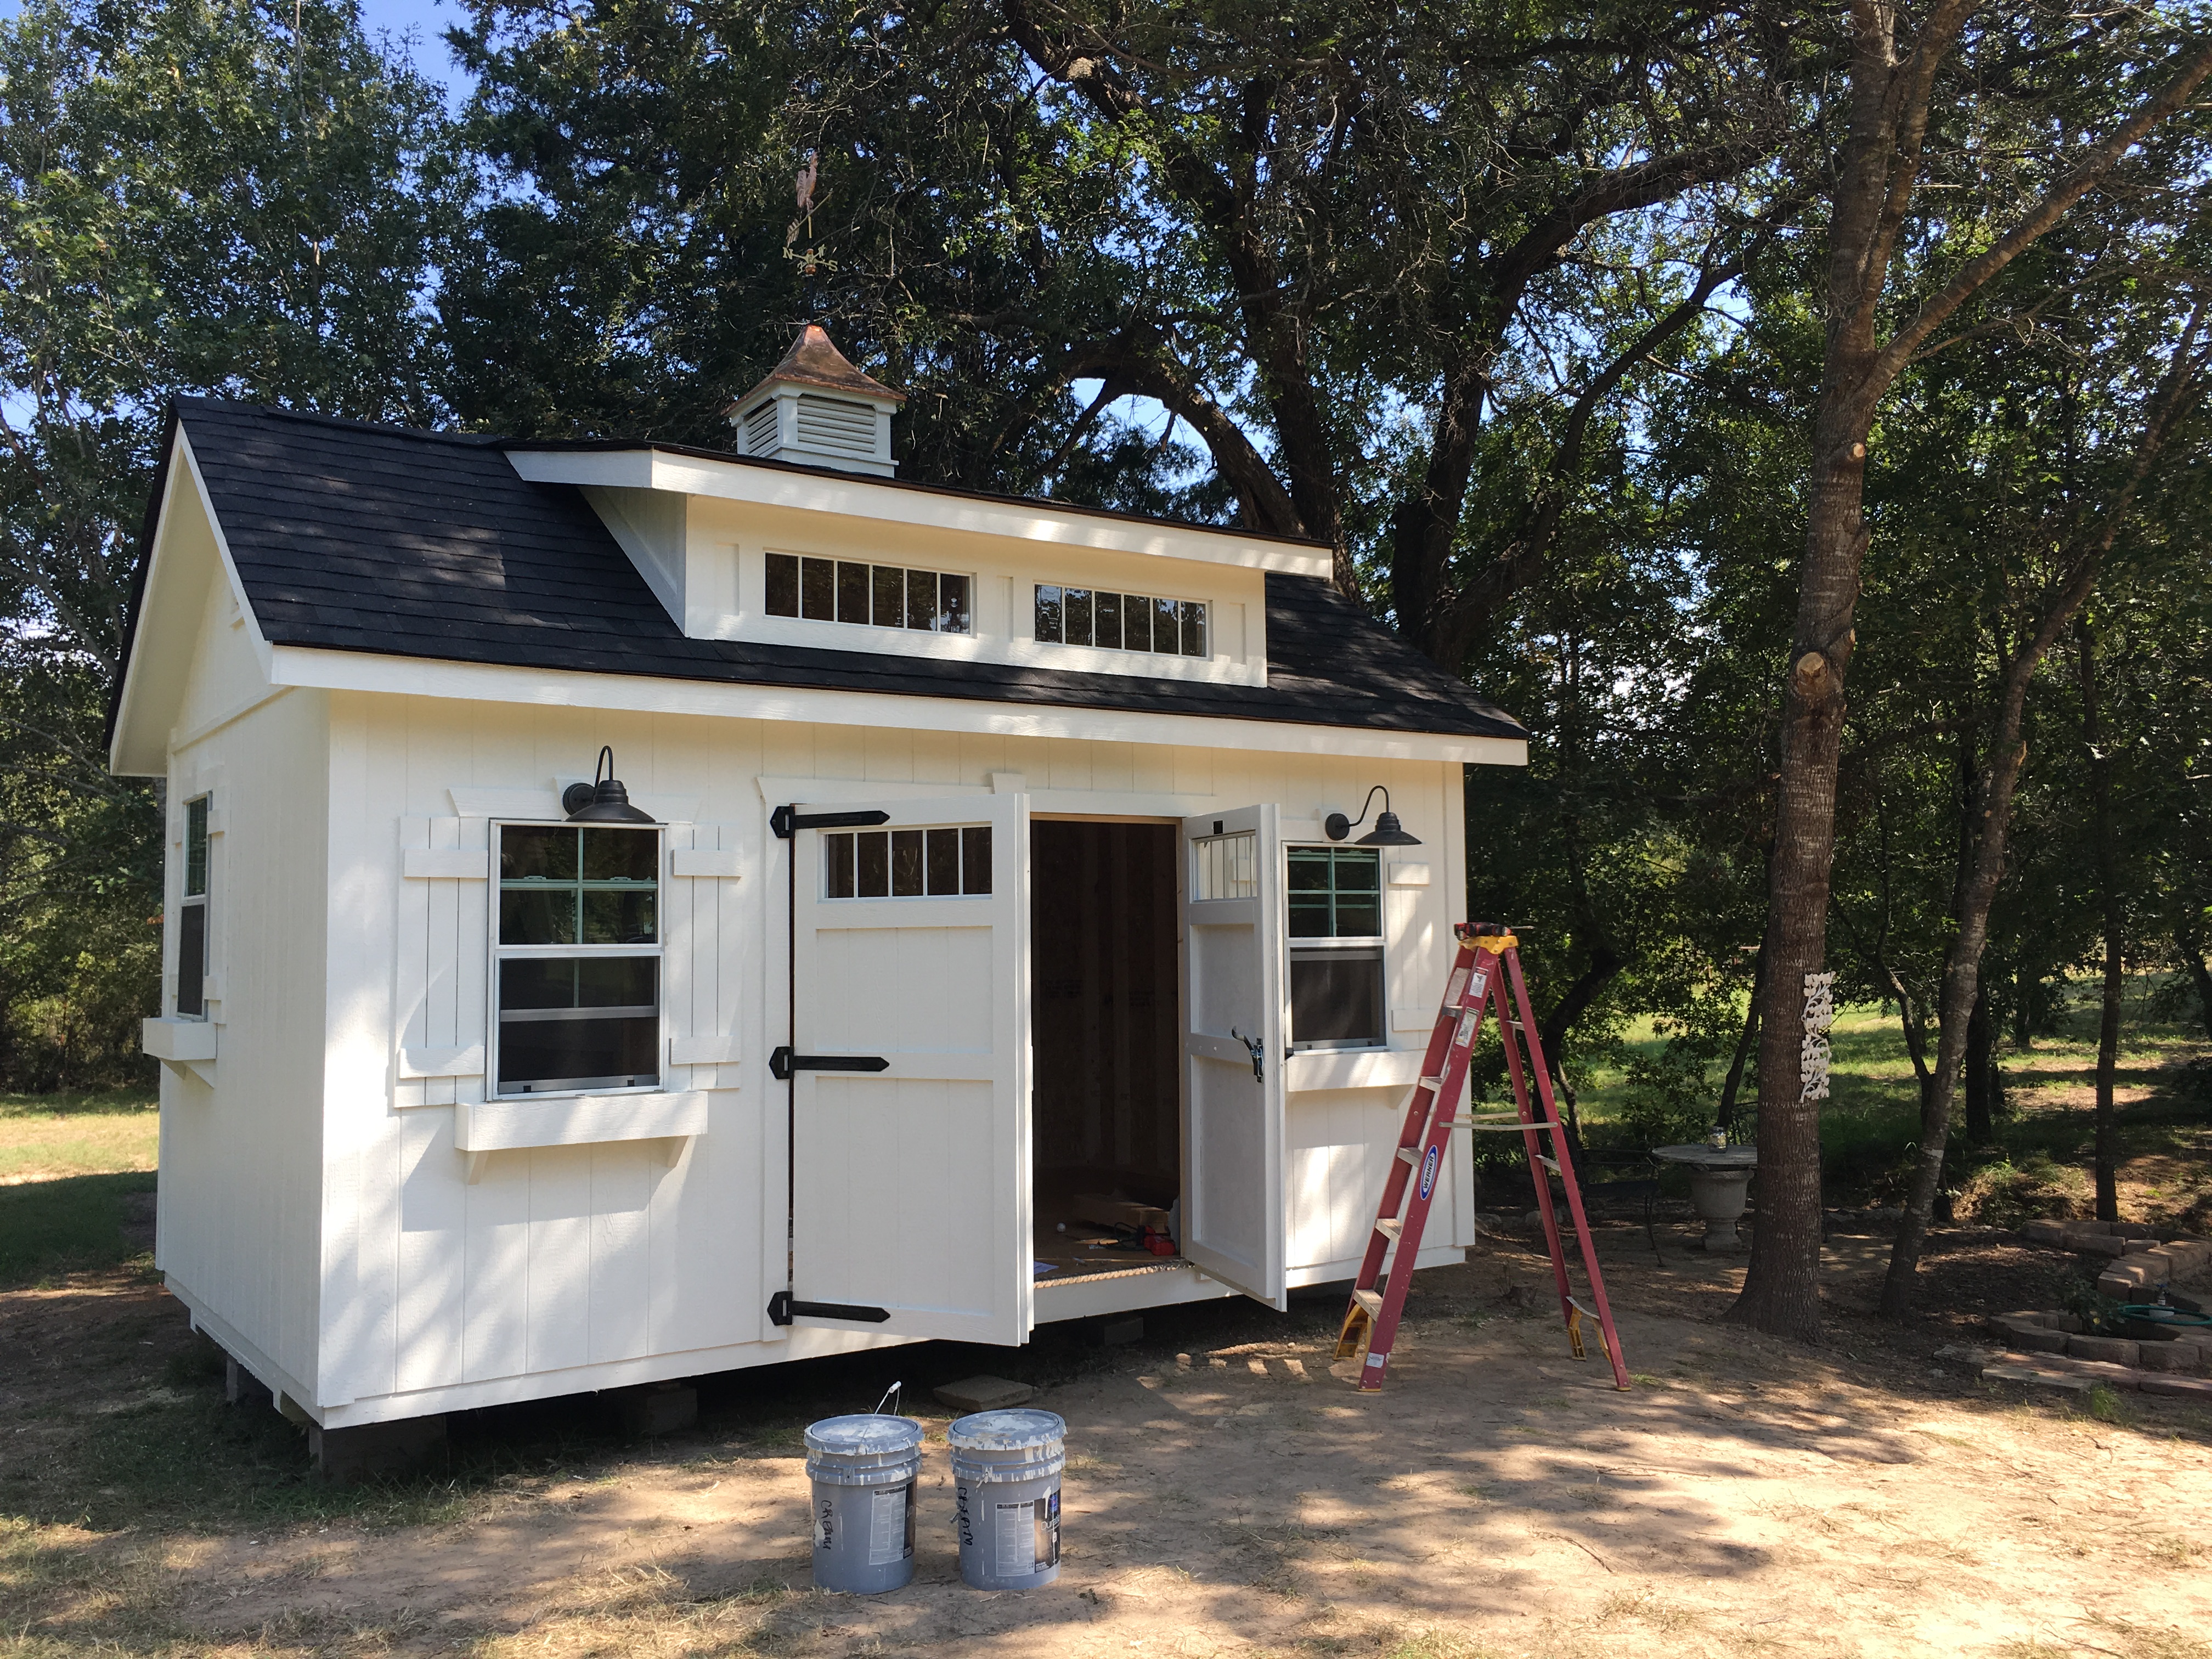
Early Summer 2018
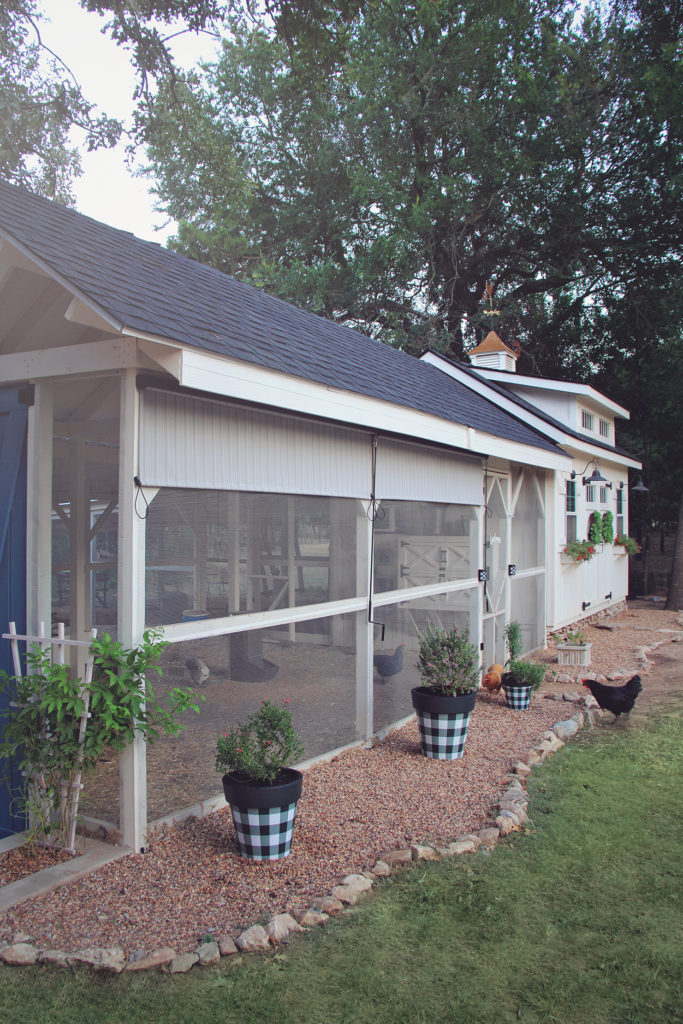
July 2018 – Sunshades added to the run to keep the sun out during the hot afternoons
Ever since we decided to make the big move from the PNW to N. Texas (in 2017), I’ve been dreaming and planning our new chicken coop. At our property in SW Washington we had three, yes THREE different coops – which was wonderful to have the separation, but there were things I hated about the design of each one. I knew we would only be able to have one building for starters at our new farm in Texas, so I had to make the design count.
I wanted to be able to separate breeds but also separate new babies or sick chickens from the rest of the flocks. I also knew I wanted an all WHITE coop and I wanted it to be farmhouse style. I’m sure you’re already thinking I’m nuts for wanting a white coop with animals that poop seemingly non-stop but I knew I NEVER wanted raw (unpainted or sealed) wood in my coop ever again. Too many microscopic nooks and crannies for teeny tiny crawlies to live and breed and I’m telling you once you deal with mites or lice on a large scale, you will know what I am talking about. It is CONSTANT unrelenting work to kill mites and keep them from coming back once they are living within the wood in your coop, so dealing with a little poop stains on white painted wood pales in comparison.

May 2018
Starting the landscaping around the coop and runs with 7 tons of pea gravel!
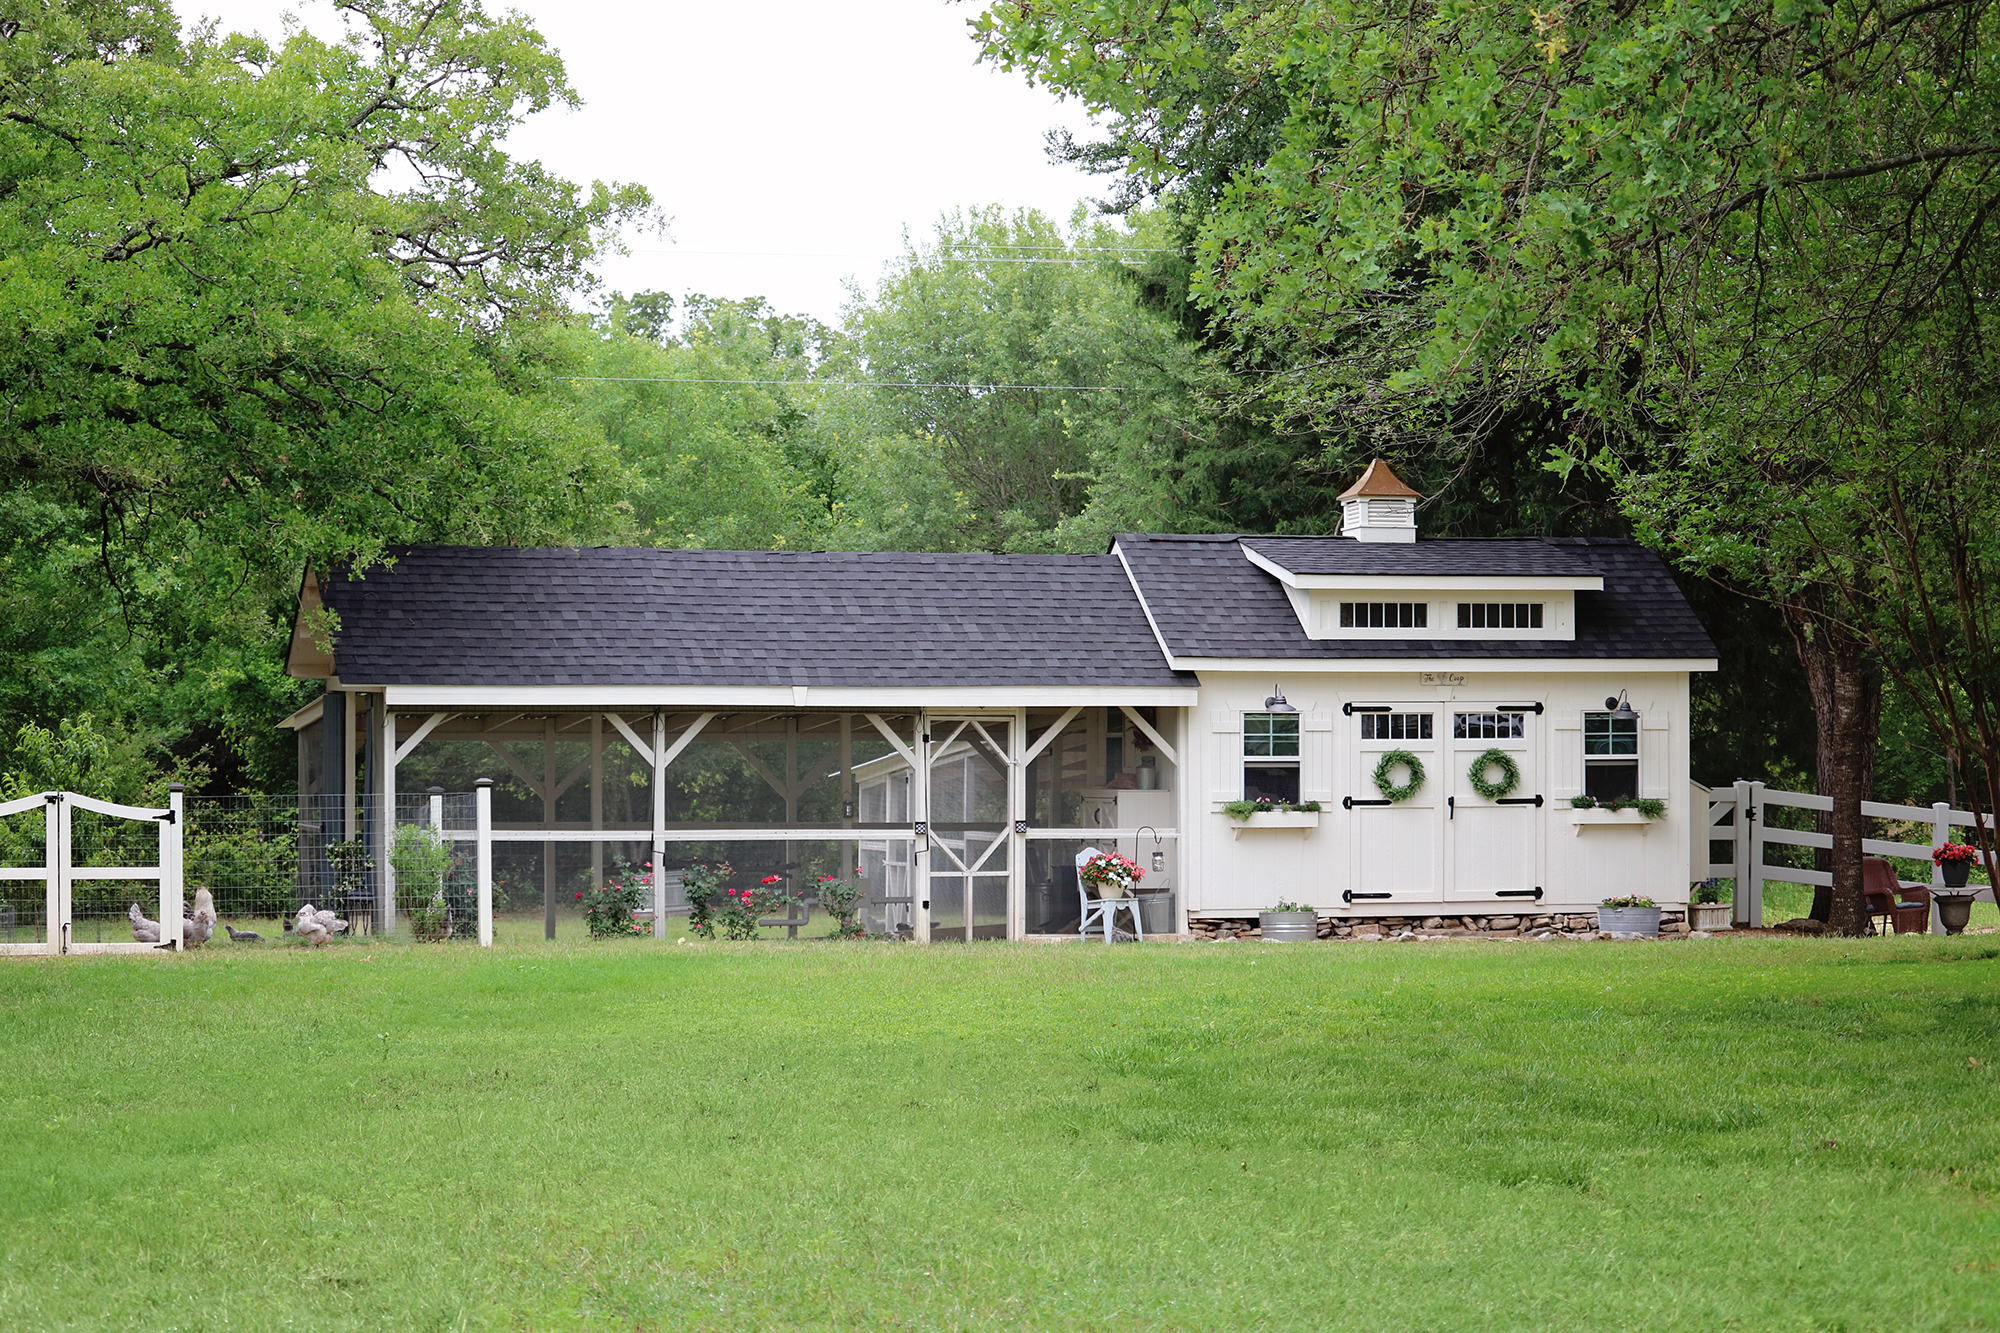
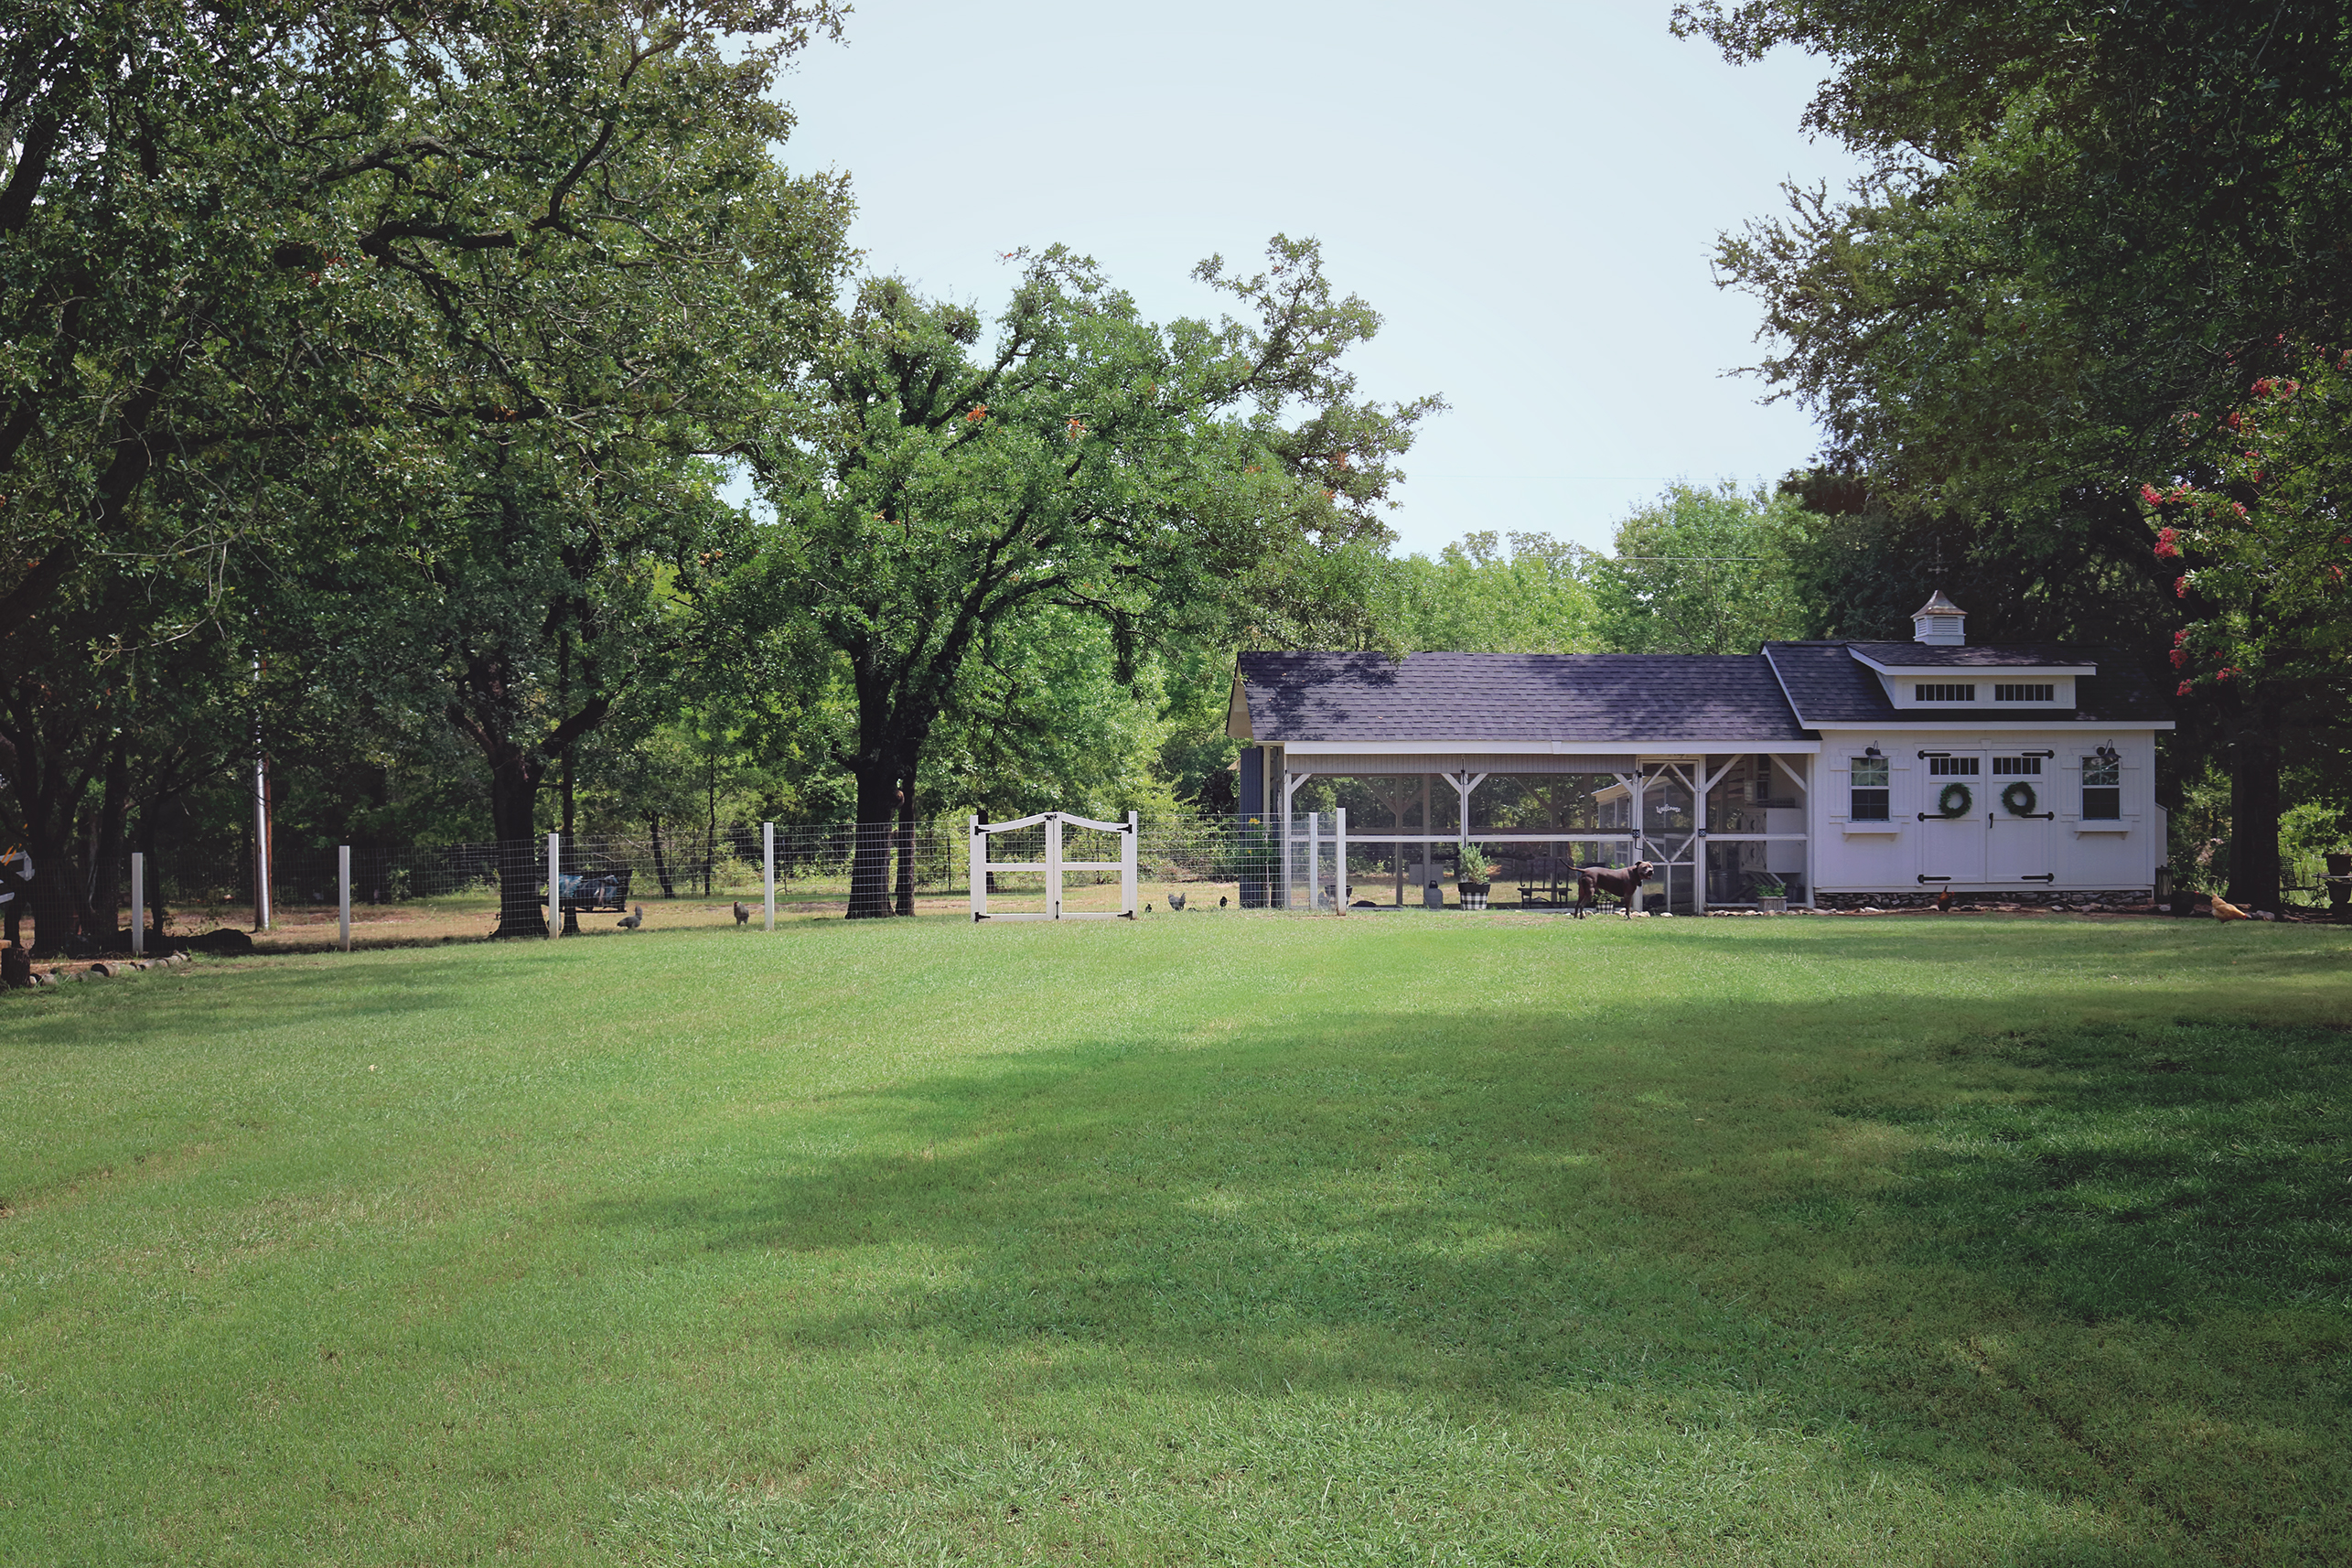
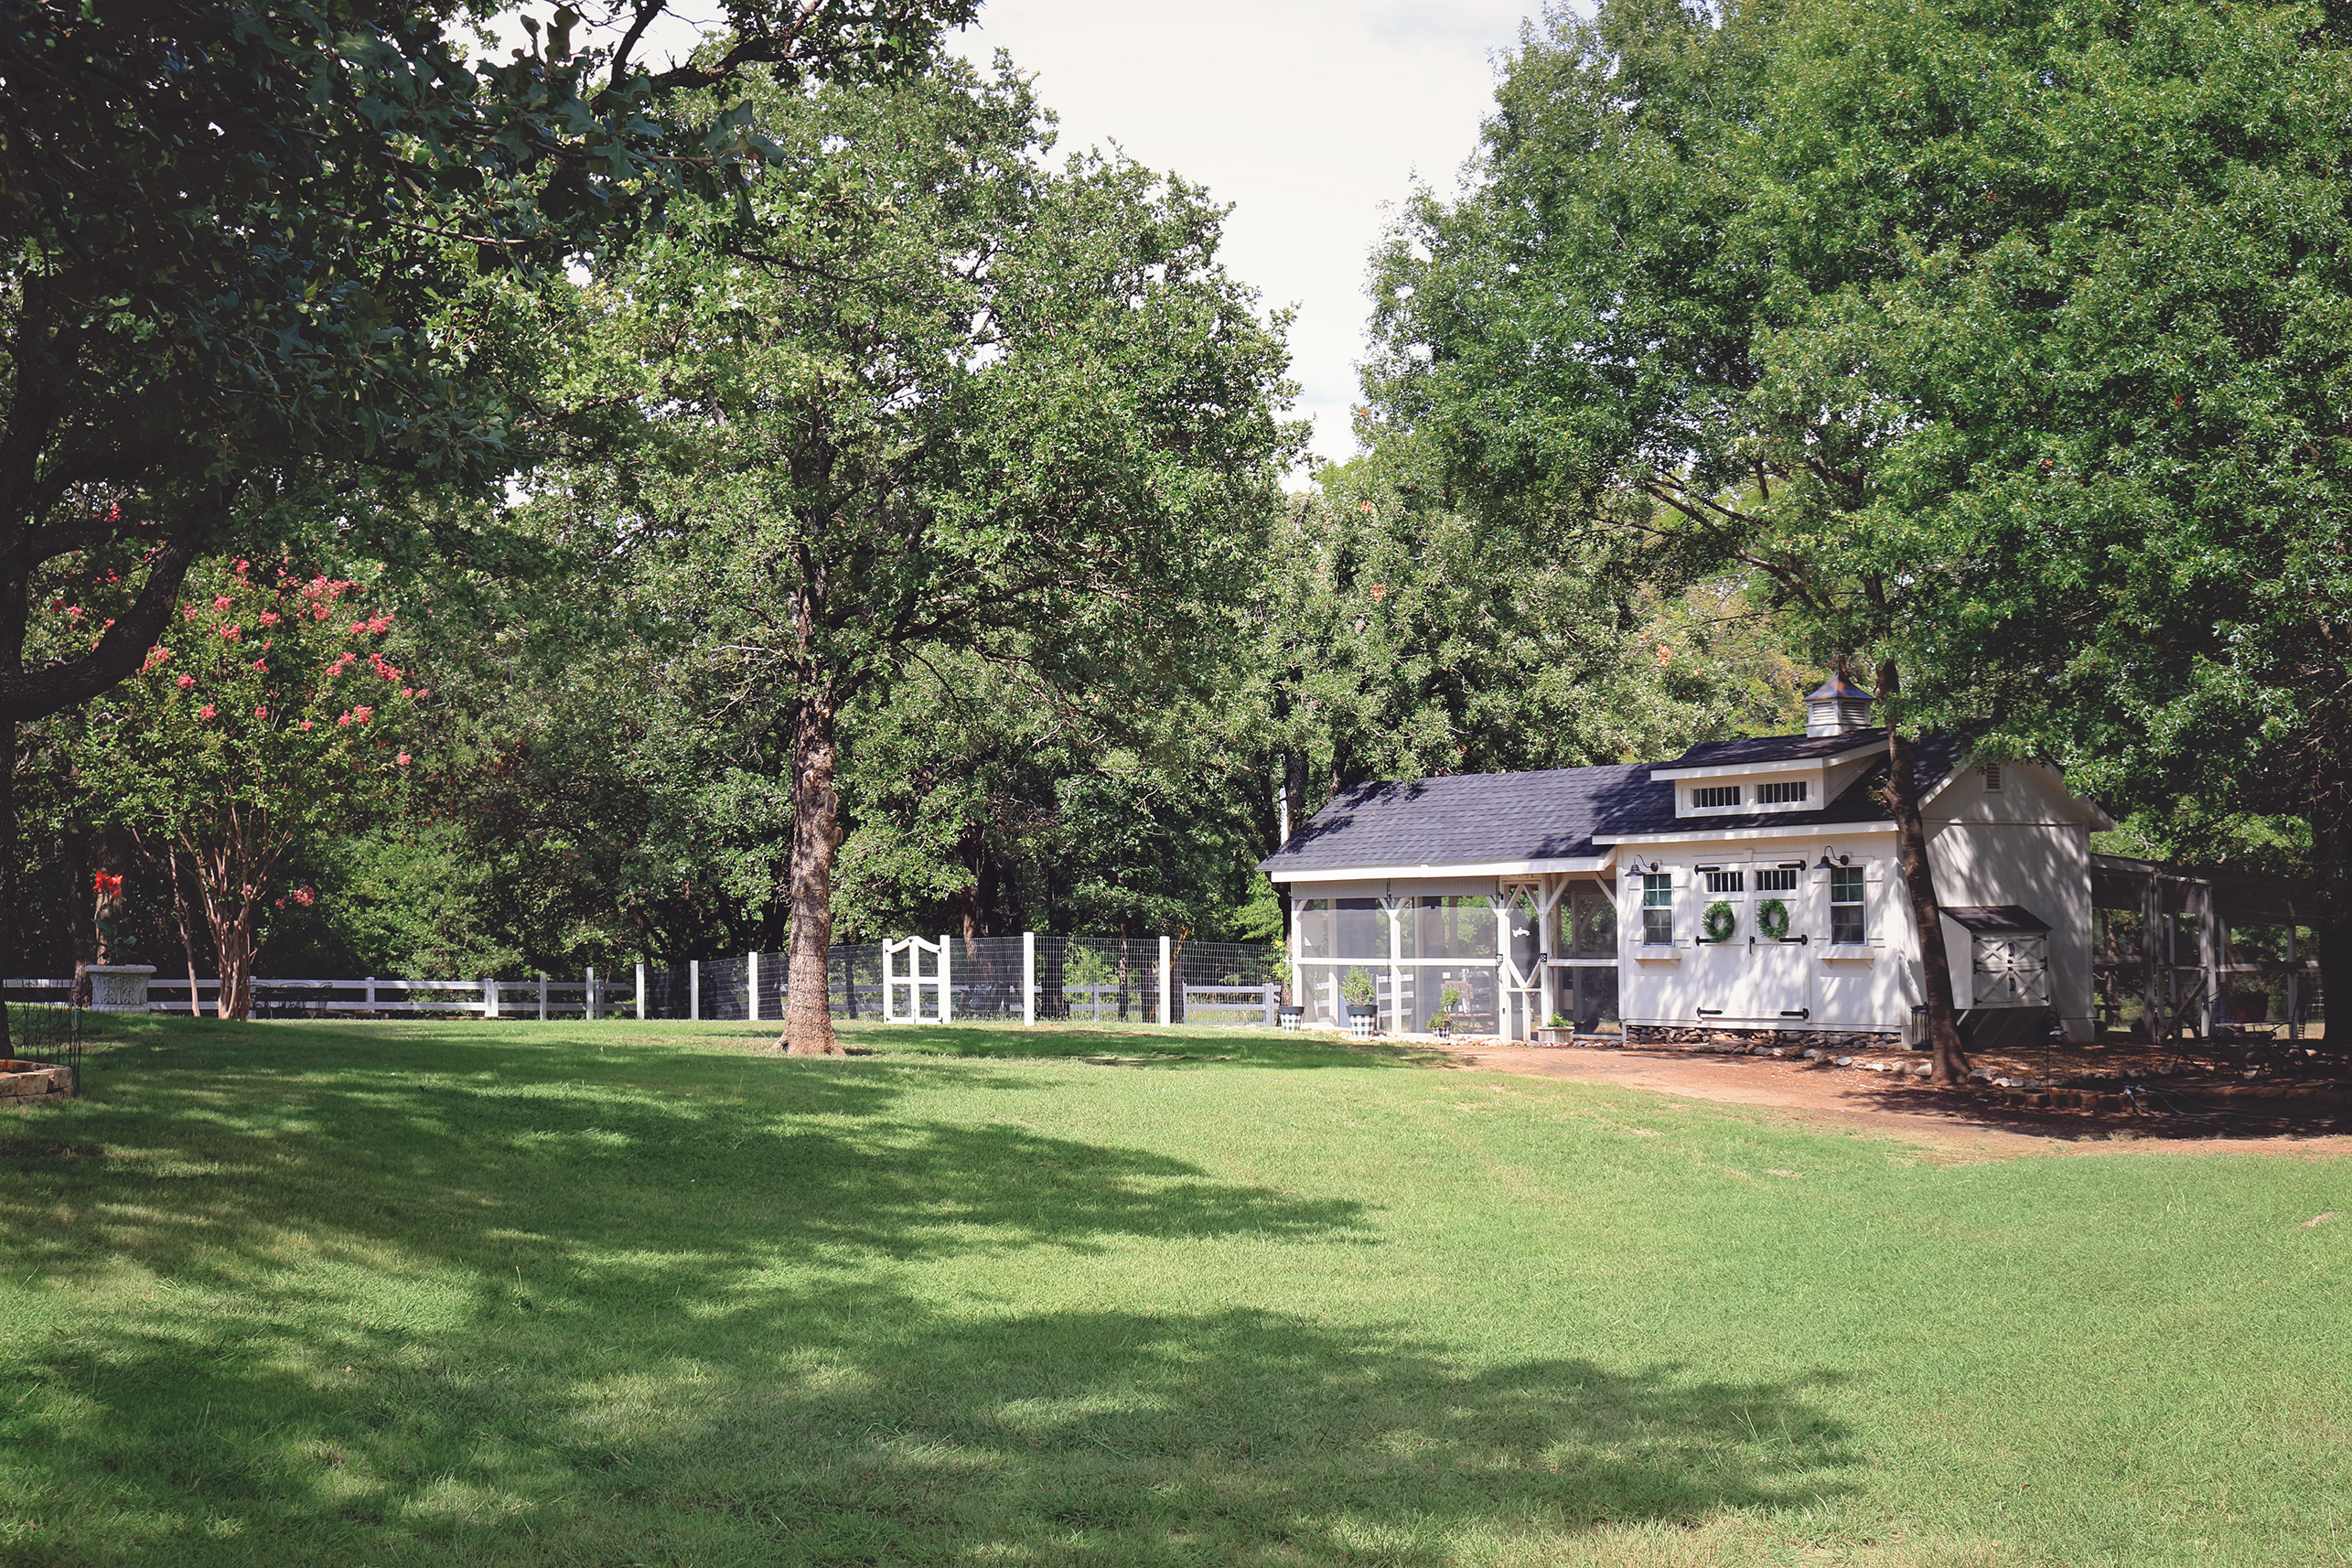
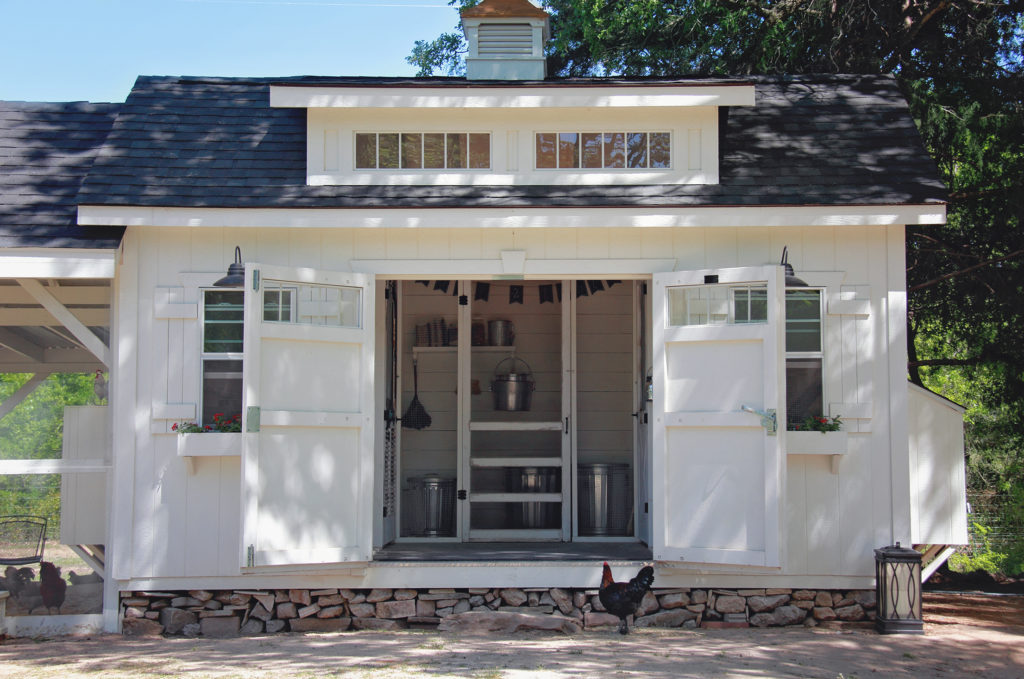
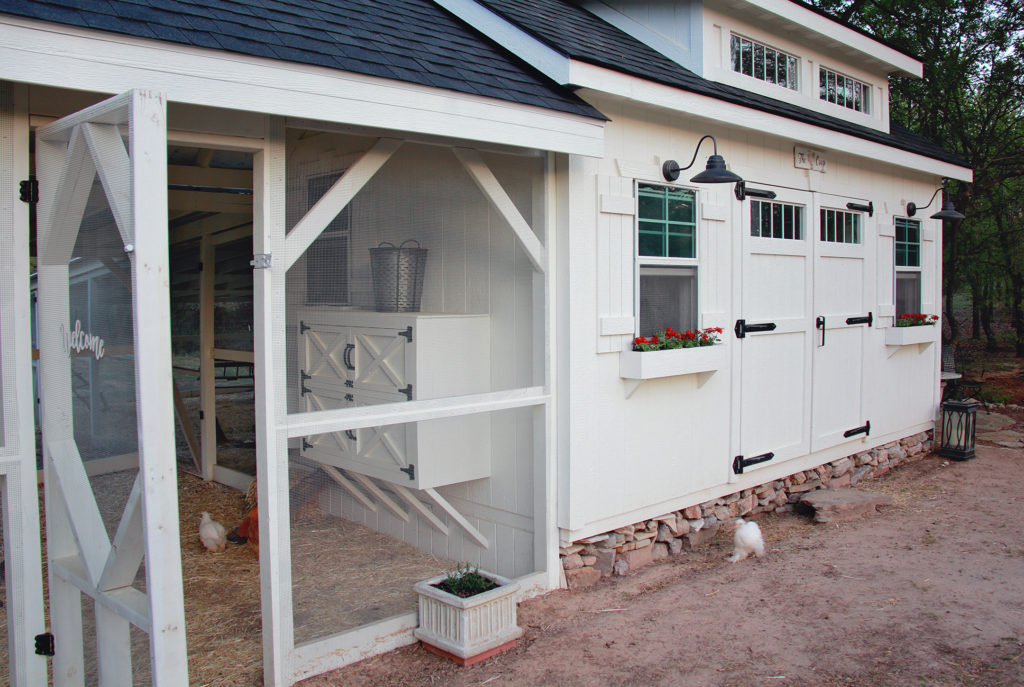
The Outside of the Coop:
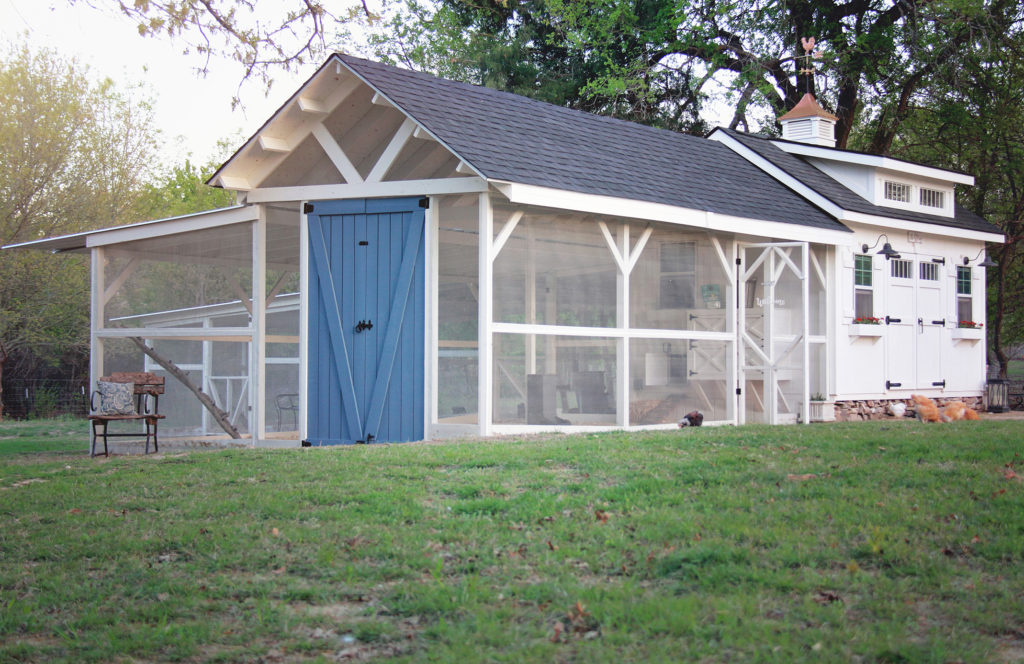
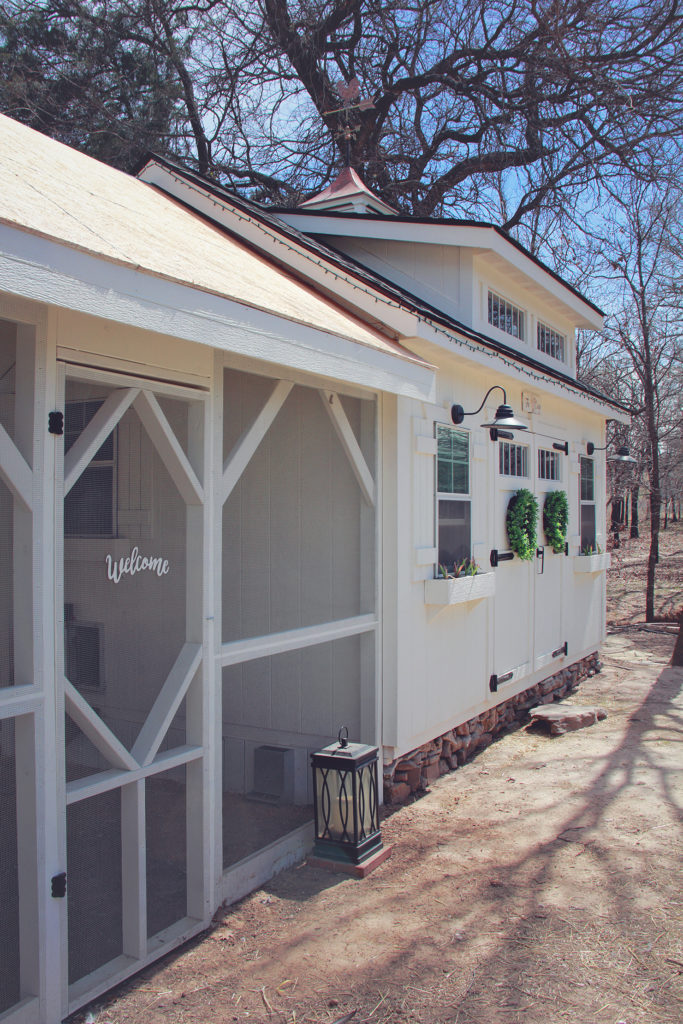
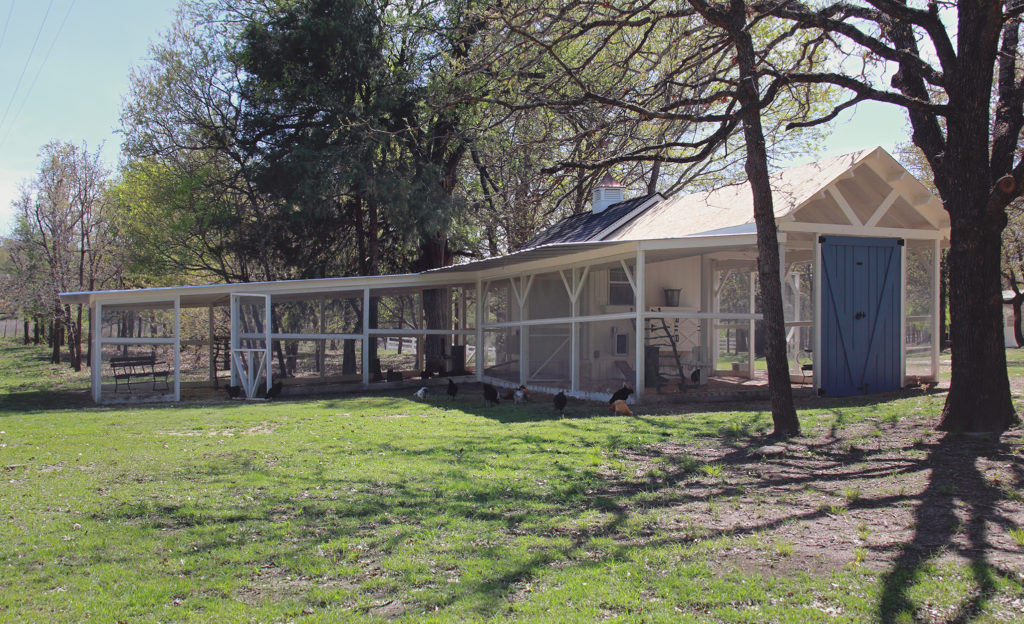
We chose to design our chicken coop in a craftsman style with a dormer up top to allow plenty of natural light inside with the extra windows and we opted for a cupola with a copper top and a rooster weathervane (perfect!) for aesthetic reasons. For paint colors, I went with white on white for a cottage look and black accents for a farmhouse feel, charcoal black shingles for the roof. We also added a third window to the side of the coop to allow for better cross breeze on hot days and allow for plenty of airflow and ventilation.
Beginning the build out of the inside of the coop!

Our Coop – Fall | October 2017
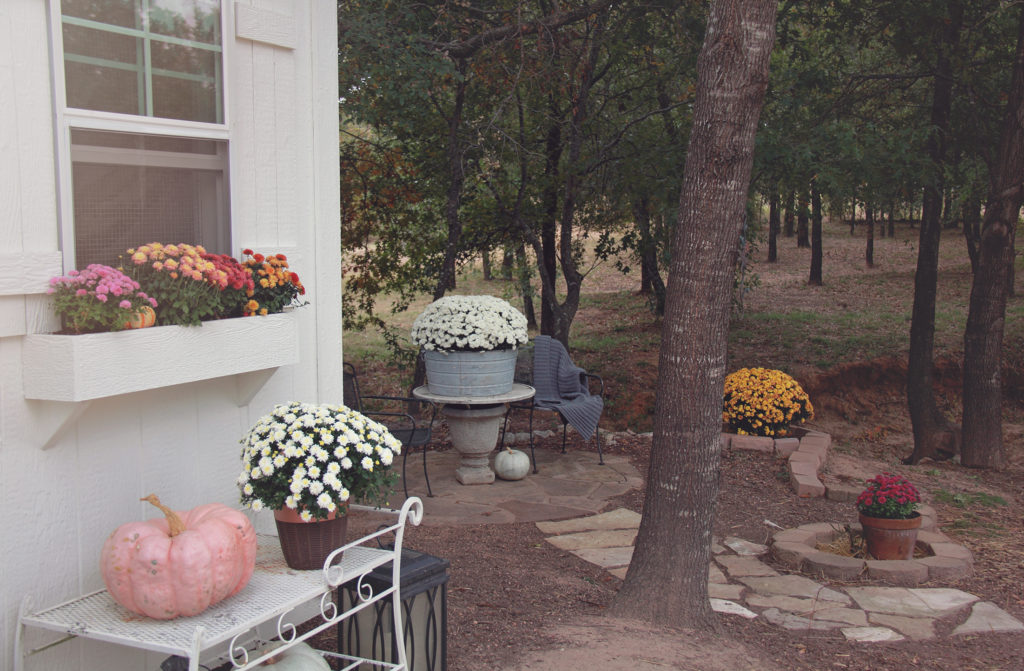
The sitting patio on the side of the coop – Fall 2017
Early April 2018
Left side run – April 2018
Spring 2018
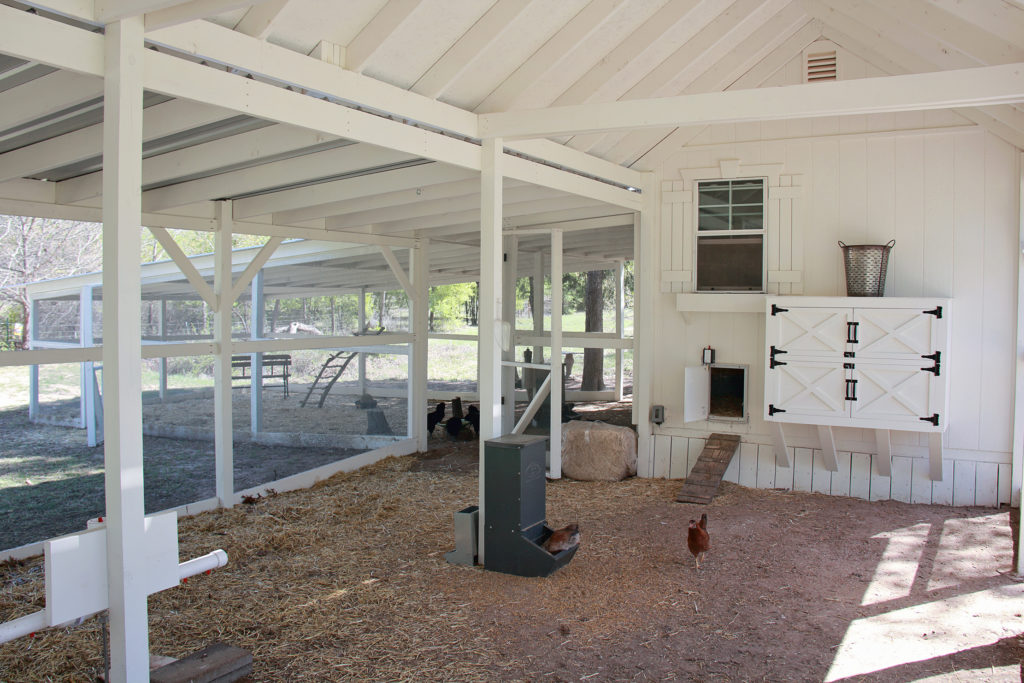
The Inside of the Coop:
We first had to plan out the space and then begin building walls. We knew we wanted to split the space into two complete coops that would (eventually) lead out to two separate runs and separate pastures. After much planning we decided on vertical coops on either side of the building with a space in the center that would be a “sitting” area that I could pretty up and the extra space could serve as a storage area as well. Kind of a combination “she shed” and chicken coops all in one!
We began by adding faux “shiplap” or tongue and groove design to the back and front walls (the side walls remained the bare studs to allow us to build roosts and nesting boxes) for a clean and stylish look that would be easy to keep clean. Then, we built the vertical walls, with door headers to allow room for our vintage doors (reclaimed from a 1940s farmhouse that was being torn down). We added horizontal support beams across the tops of each coop as well. We also installed roosts and dropping boards on both sides and then Corey hooked up his paint sprayer and sprayed everything white (we used a custom Sherwin Williams creamy white color that included primer). It took a few coats to make sure everything was fully coated and sealed with paint, but when it was done, it was light and dreamy and fresh. JUST what I wanted.
See our wallpaper and roost updates we made to the coop!
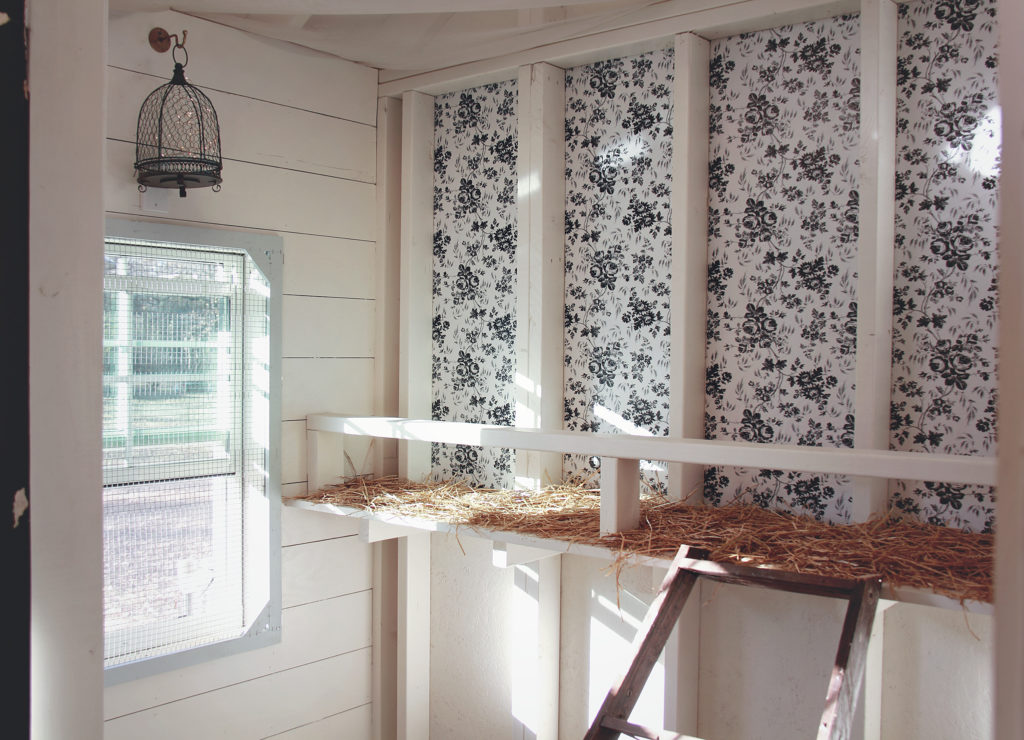
Shown here – the roosts and dropping boards in the left coop with contact paper “wallpaper” that makes for a very easy cleanup and adds a little charm.
Next, we had to wire the whole thing for electrical outlets, interior and exterior lights, indoor and outdoor ceiling fans and exterior outlets. The electrical was tied into the breaker on the outside of our house for the pool and then the ground was trenched all the way to the coop and the wires were buried. It was so wonderful to finally have working lights and outlets in the coop! No more extension cords!!
My next challenge was the windows. We started work on the coop in August/September and it was HOT out here in Texas. Even at night it was still 80 degrees, which meant those windows HAD to stay wide open all night long. The windows came with screens but I knew that screens were in no way predator proof and I had to reinforce with some hardware cloth (welded wire). But my challenge was, I didn’t want to ugly up the outside of the coop by fixing wire to the windows, and if I permanently fix the wire to the inside of the coop, I can’t access the windows to open and close them, or clean them, etc. The solution, after mulling it over for awhile, was to create a window “frame” that would be attached with hinges (to open and close) and the hardware cloth would be fixed to the frame instead of to the window itself. Perfect!
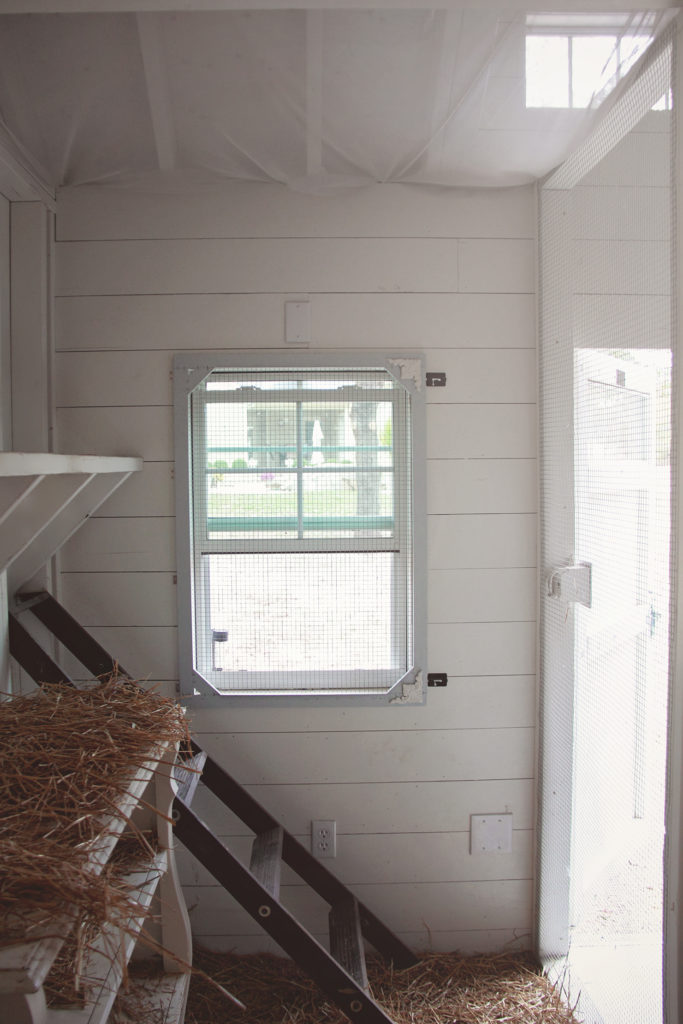
Predator proof window frames painted blue and secured with latches on top and bottom
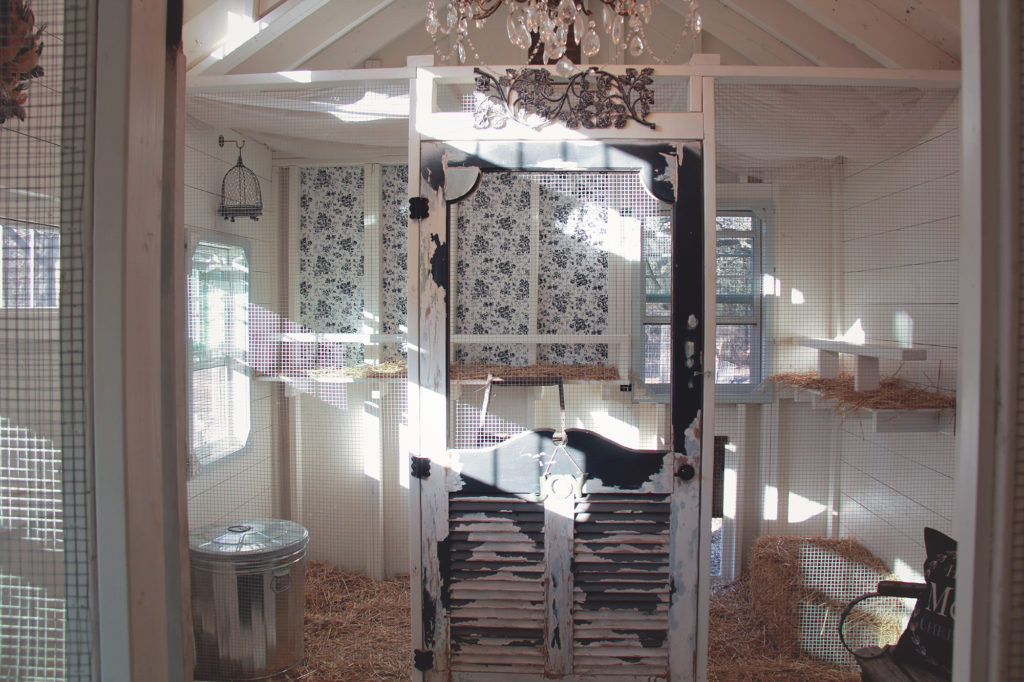
View from one coop across to the other
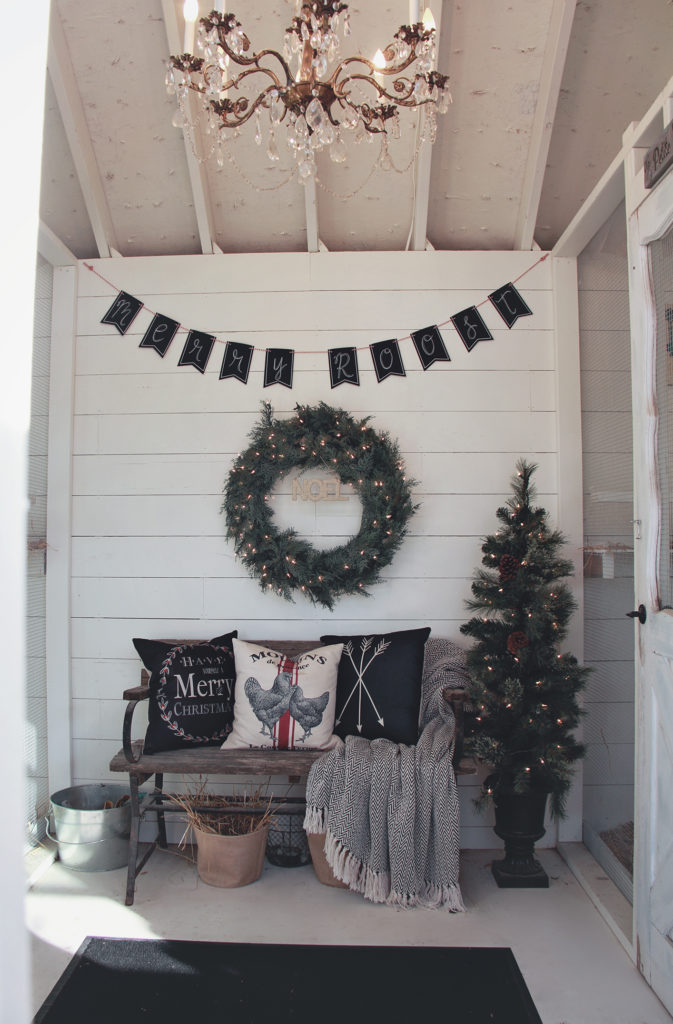
The sitting area in the middle of the two coops – decorated for Christmas – December 2017
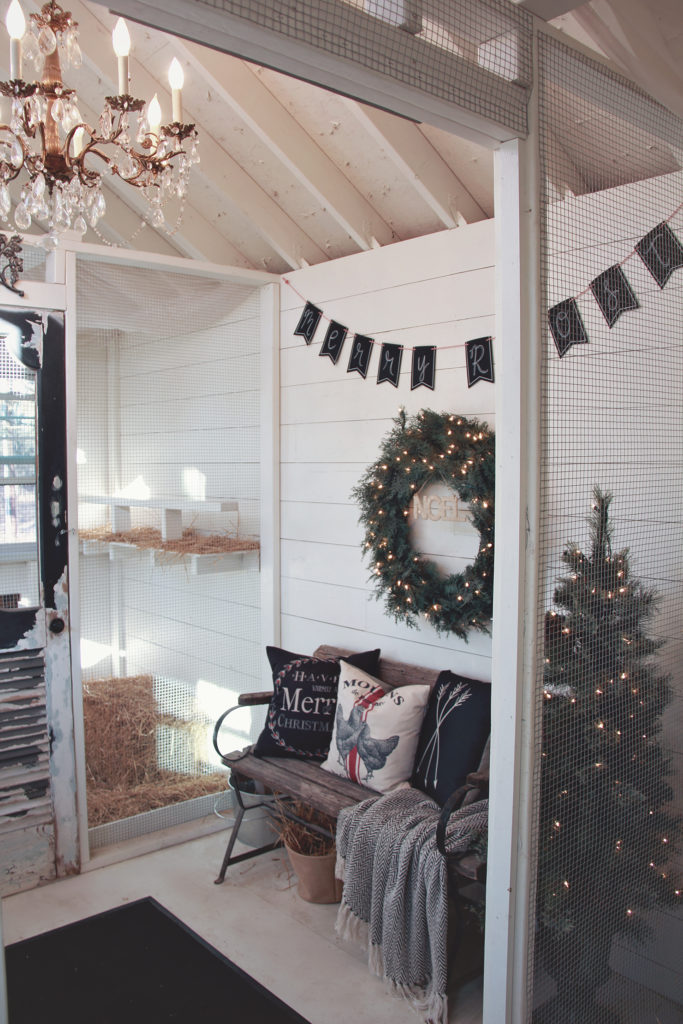
looking into the left side coop – Christmas 2017
After a couple of months with our new coop, we decided to install rubber floor mats (the same you would use in a horse stall) into the center sitting area of the coop. Since we enter the coops through this center section to clean and such, it was getting harder and harder to keep the white painted floor clean. The black rubber mats hide dirt better and they are super easy to clean – just a quick sweep and it’s tidy!
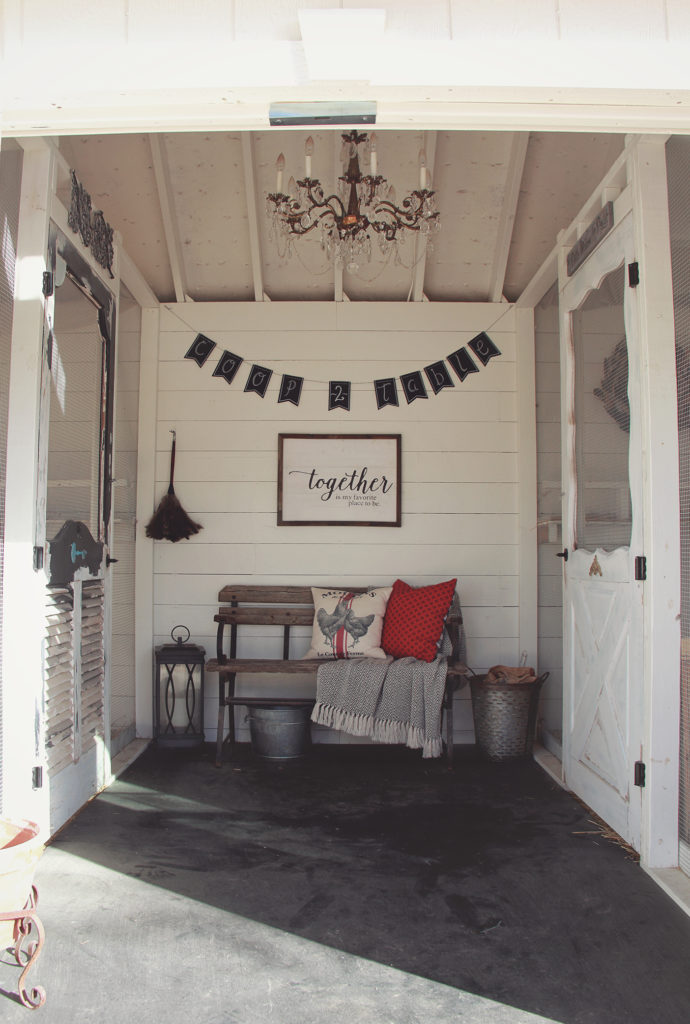
Our rubber floors before a sweep – they collect dust and make it super easy to just sweep it right out the front doors. An Ostrich feather duster from South Africa makes it easy to dust the hard to reach places in the coop like the chandelier (Fun Fact: Ostrich feathers absorb the most dust out of any other feather)
INSIDE COOP UPDATE – Feb/March 2018
With Spring approaching and baby chicks needing a place of their own, safe from the older girls and boys, we made the decision to utilize the space that was originally the sitting area between the two coops. I was sad to get rid of that cute sitting space, but we knew it could be put to better use and provide more functionality as a chick brooder/storage space/broody momma pen, etc. During baby chick season, we could just lay down some bedding on the floor and very quickly it’s a comfy temporary home for the littles! When they aren’t so little anymore and can be moved into the big coops, the space can be cleared out and become an inside storage area. So, out the bench went, and in came the power tools once again.
A new storage area for feed, treats, tools, etc.
The Run(s):
Since we have two coops within our coop, we needed two separate runs. One that comes off of the side, and one that comes off the back – creating an L shape behind the coop. In the middle of the two runs, or the inside section of the “L” is going to be a garden area with access from both runs when we want to let the chickens in the garden to clean up after harvesting.
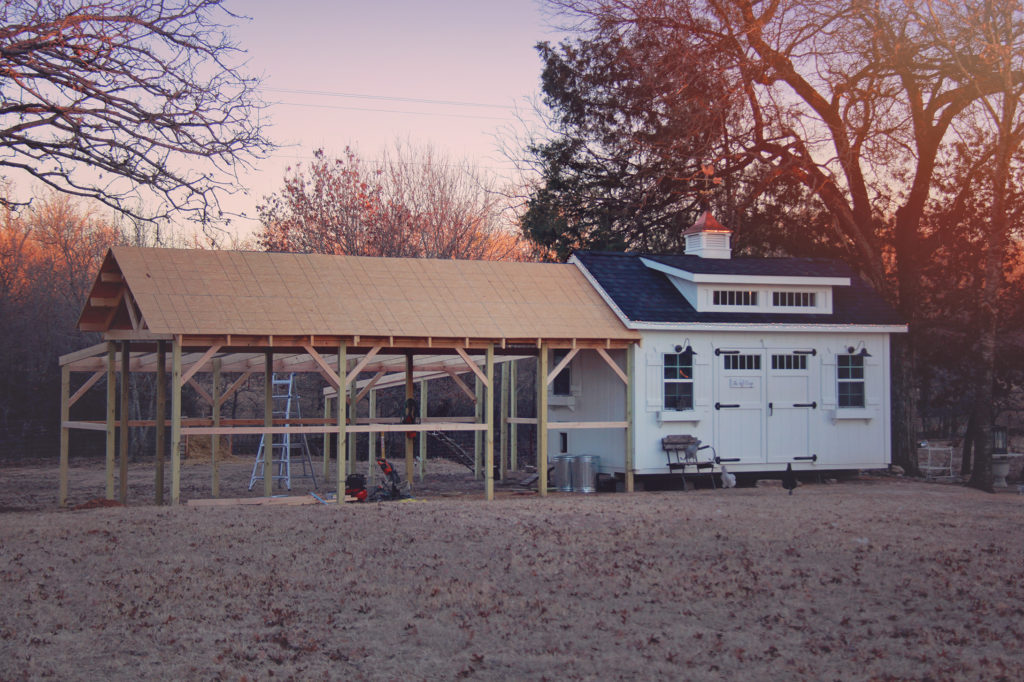
The run on the side of the house with access from the left side coop (and the run visible from the front of the coop) is going to have a pitched roof that matches the pitch of the coop roof itself with a smaller roof coming off the back of that run that slopes just slightly for rain runoff. The run in the back of the coop (access from the right side coop) will have a long sloped roof to also allow for rain runoff and proper drainage.
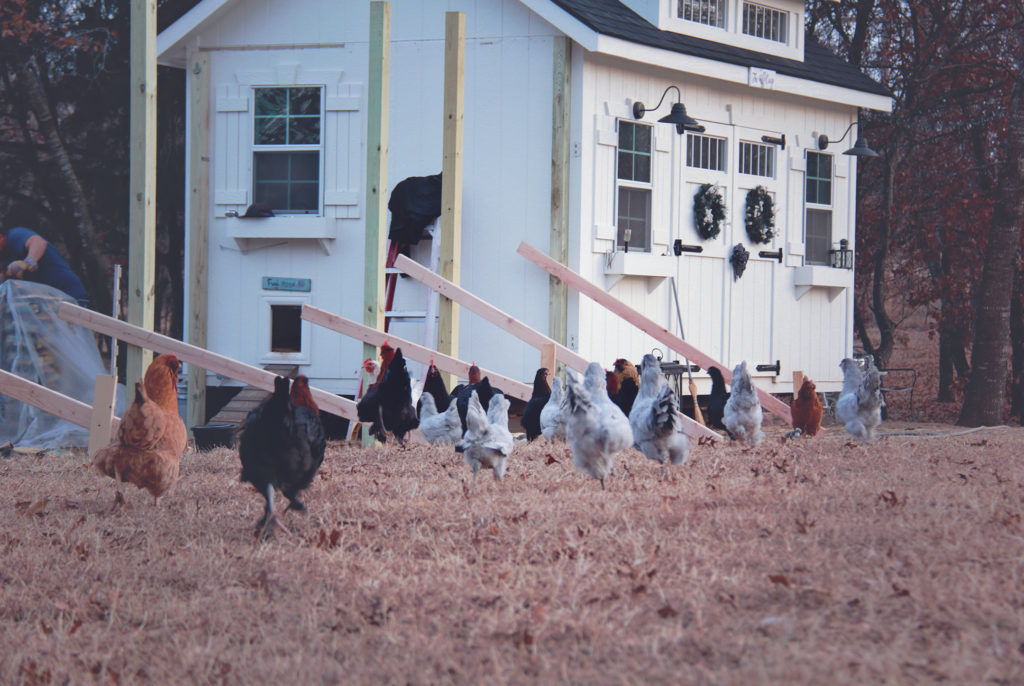
Beginning the runs – digging holes and setting the main posts with concrete. Temporary braces hold the posts plumb and level while the concrete was curing.

Beginning the pitched roof on the left side run
Side pieces are on, decorative angled pieces are on and roof is on!
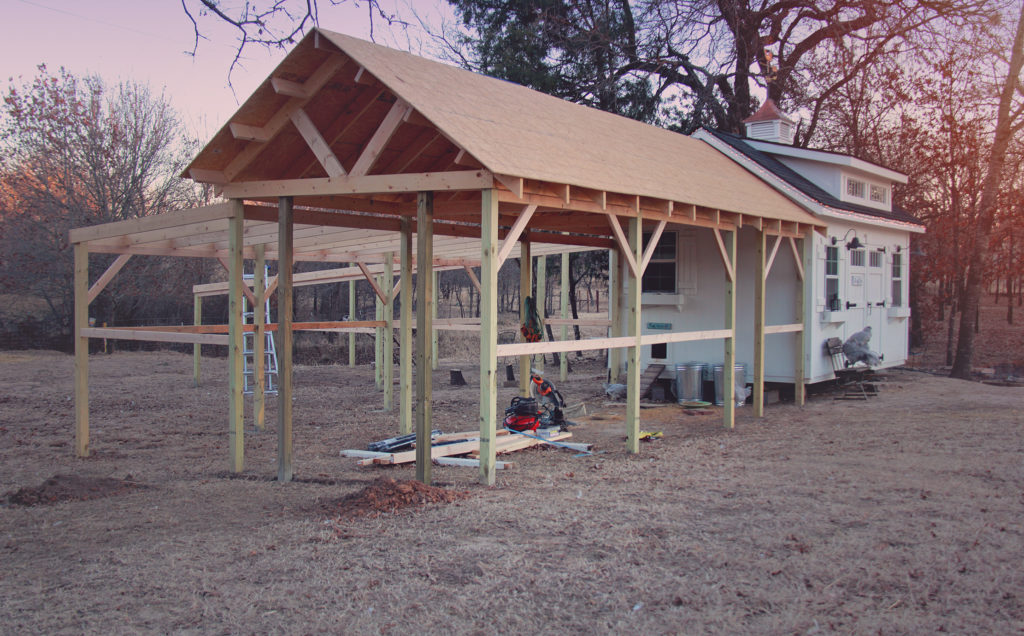
Side View
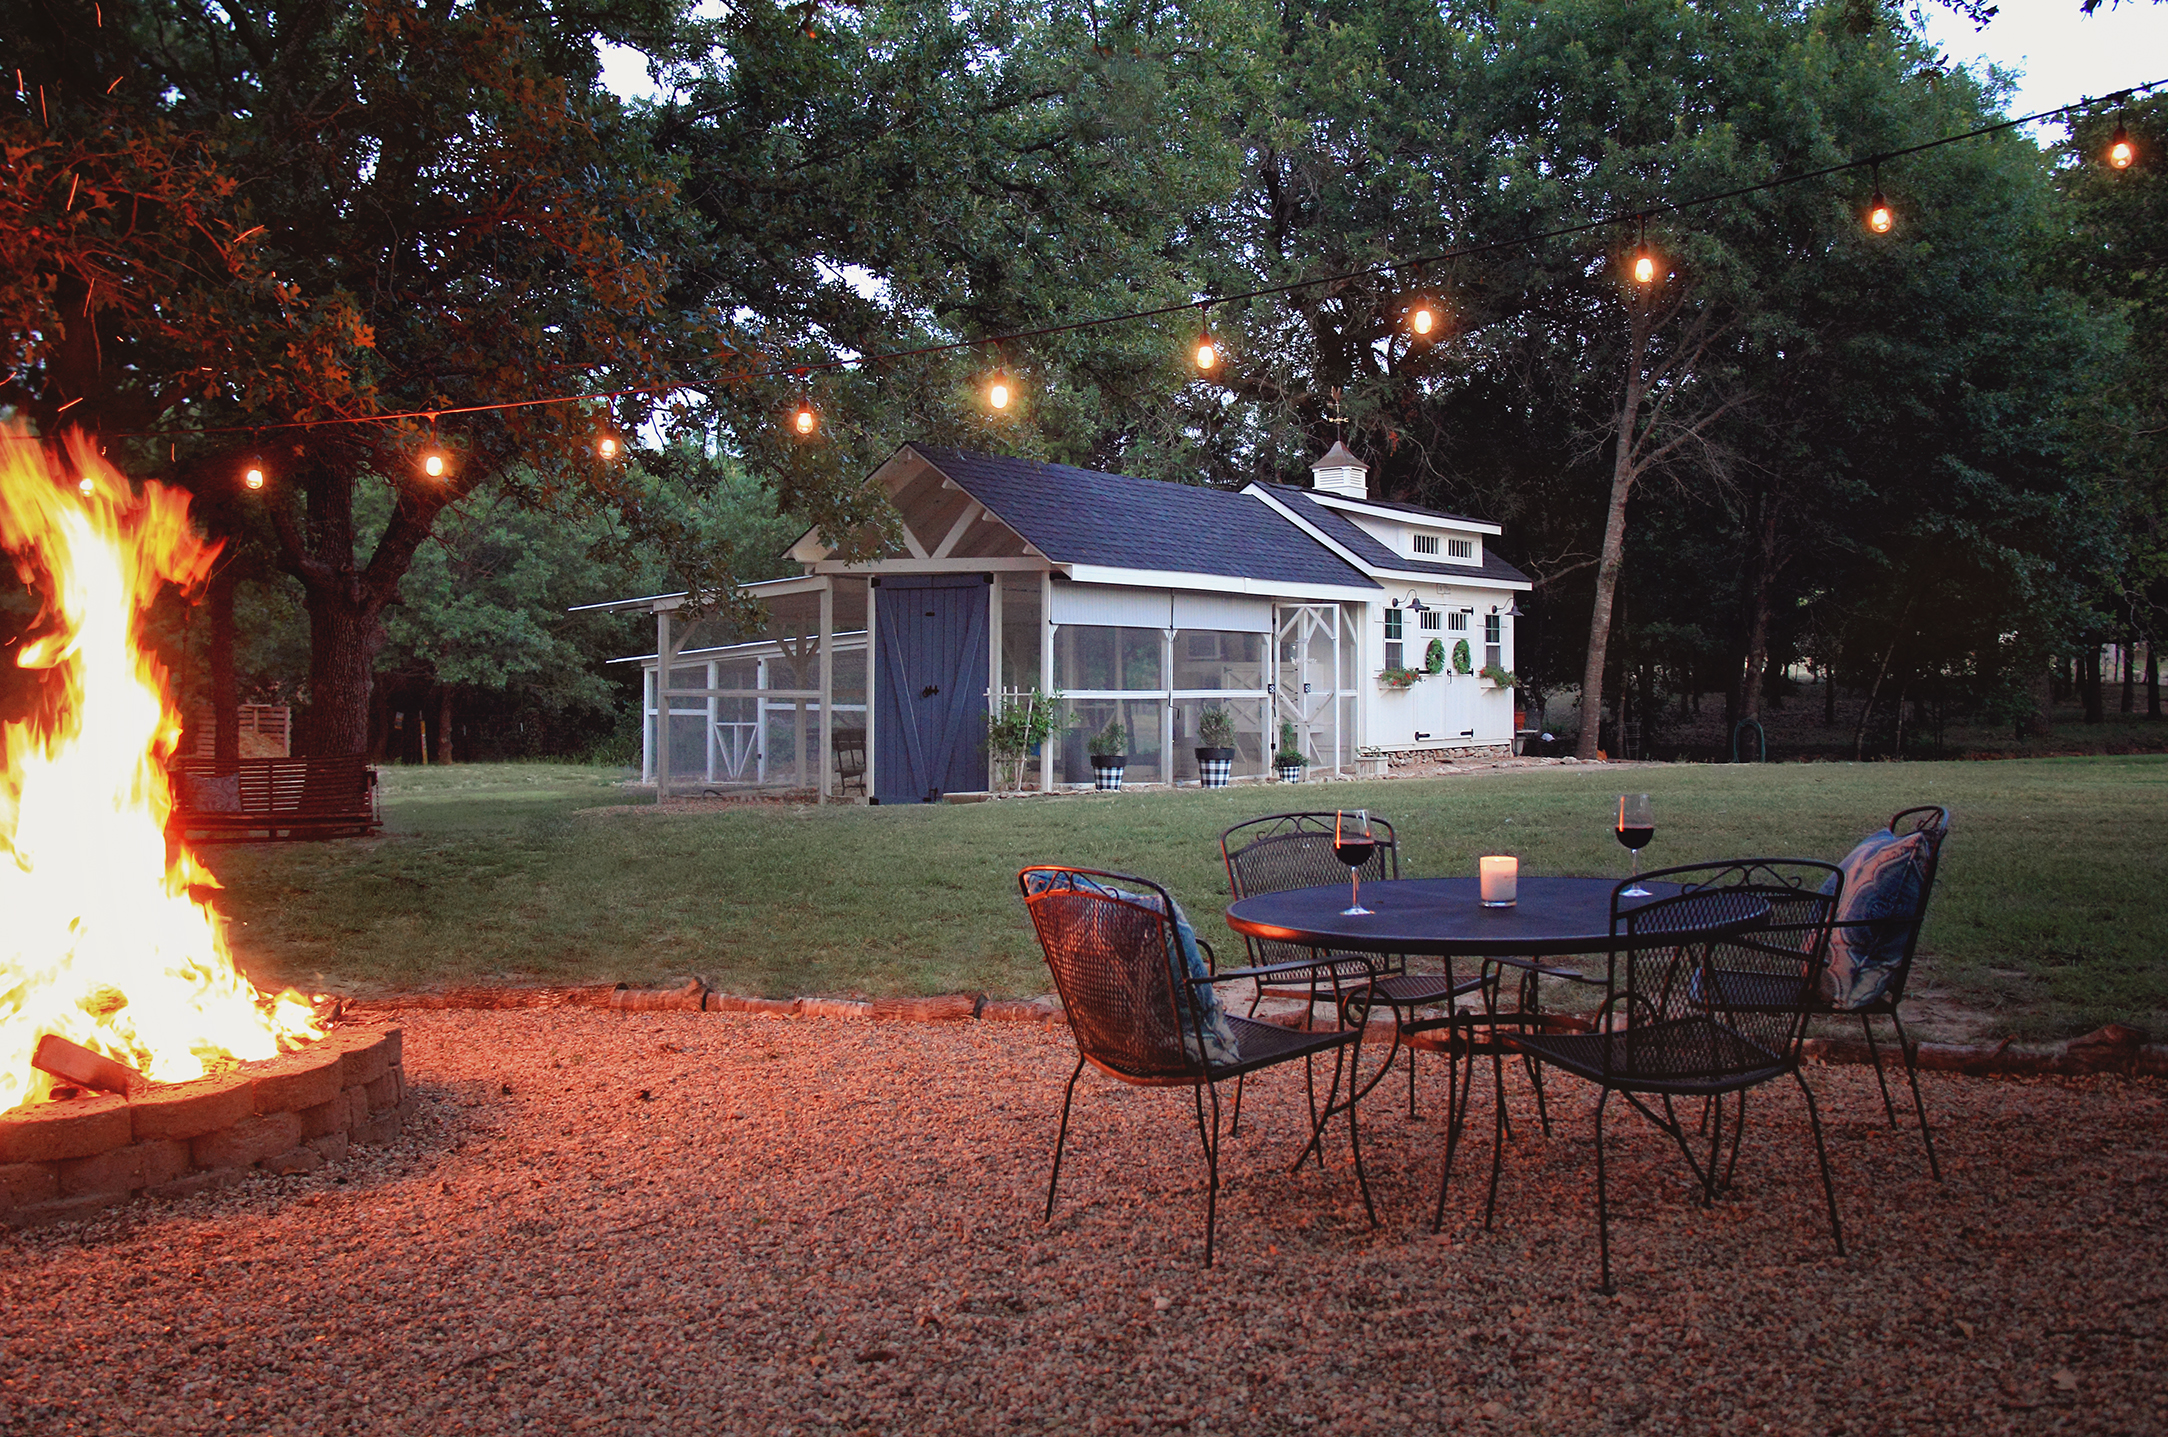
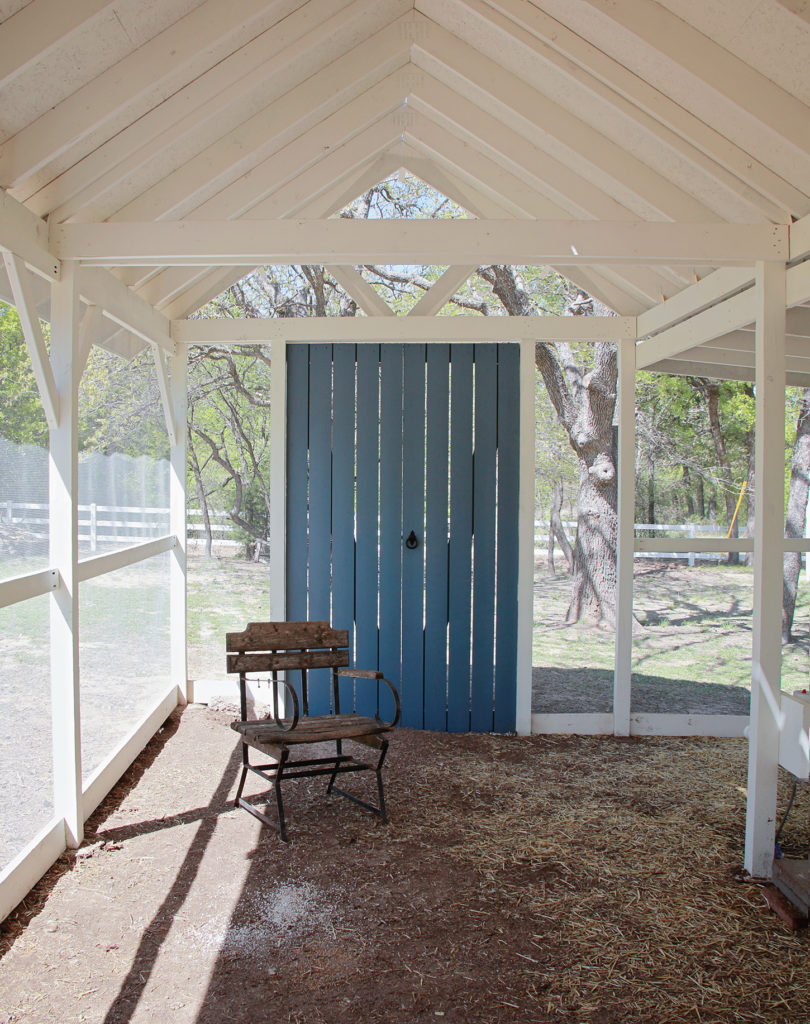
Once the construction on the runs was complete, it was time to paint! Everything was painted white with the exception of the pitched roof (which will be shingled to match the coop) and the two big barn doors that will be painted blue (to match the colors we plan to paint our house). After the paint was dry it was time to get the 1/4 inch hardware cloth installed. We went with 1/4 inch (smaller squares) instead of the 1/2 inch we used on the inside to keep more bugs out (flies, wasps, etc). 6 inches of wire was buried into the ground for predator proofing as well as security against digging chickens on the inside of the runs (you know who you are – Abigail!)
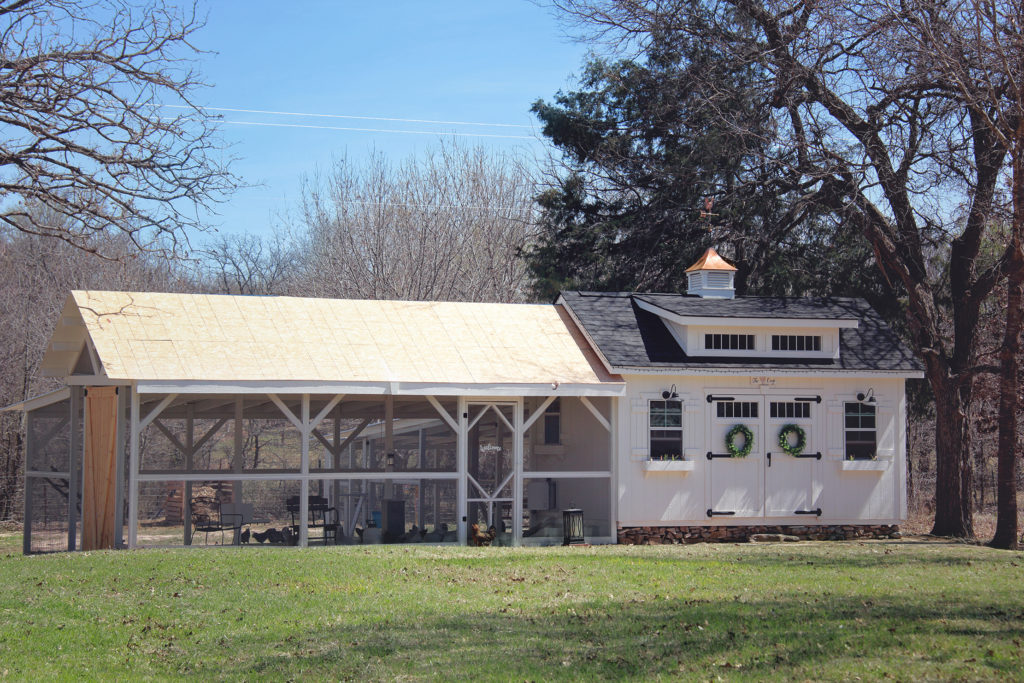
Progress is happening! Runs are painted and hardware cloth is on!
The left side run – before the nesting boxes were built. Early March 2018
Back side view of the two runs. Barn doors are painted!

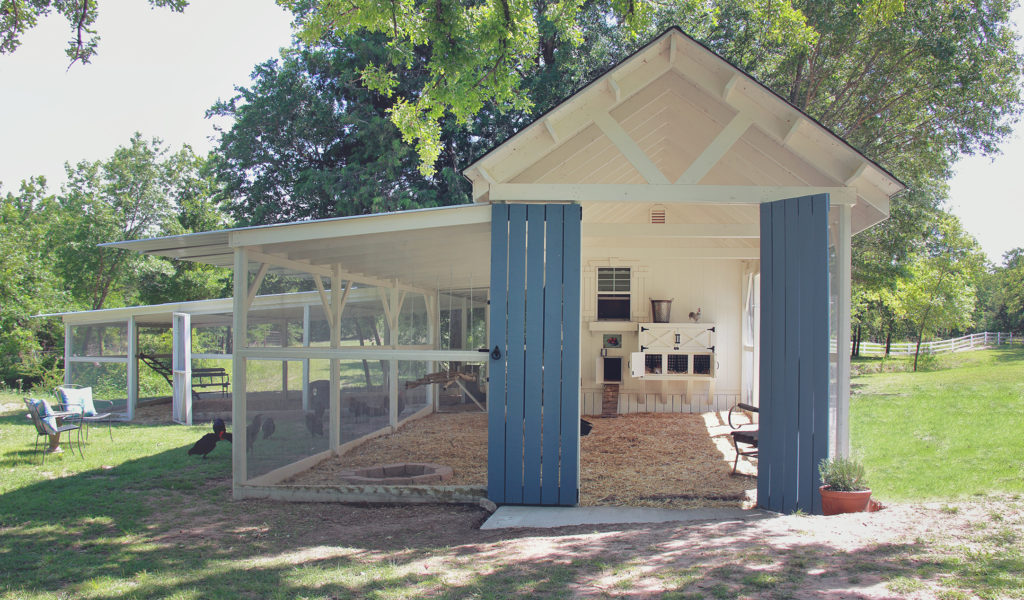
May 2018 – New concrete patio was put in under the big blue doors to deter any predators from digging under the door.
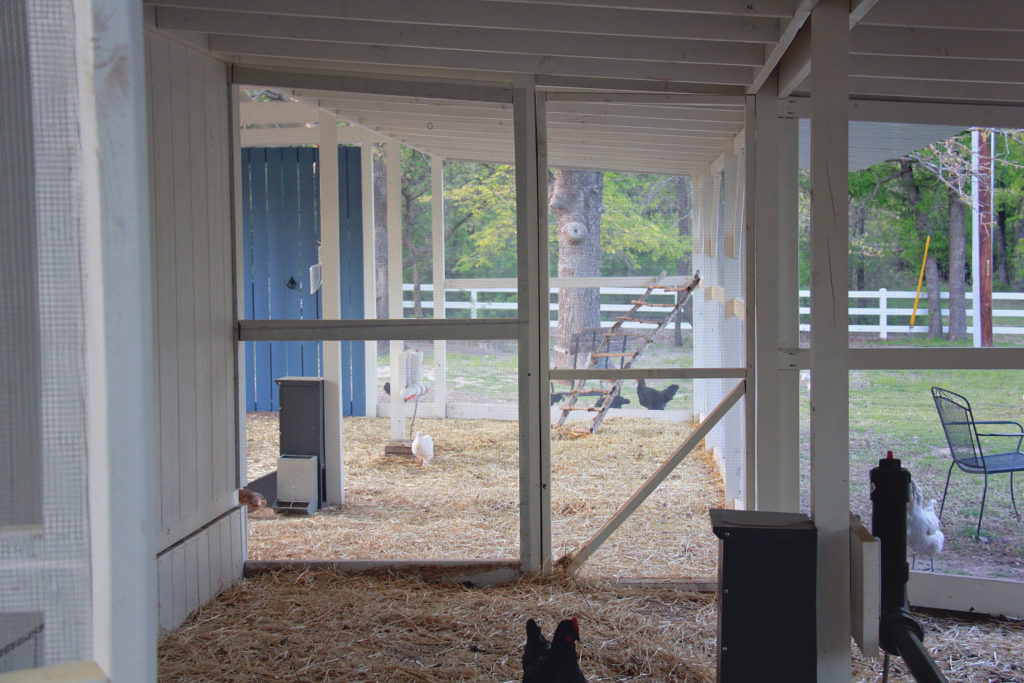
INSIDE THE RUNS:
Inside view of the left run
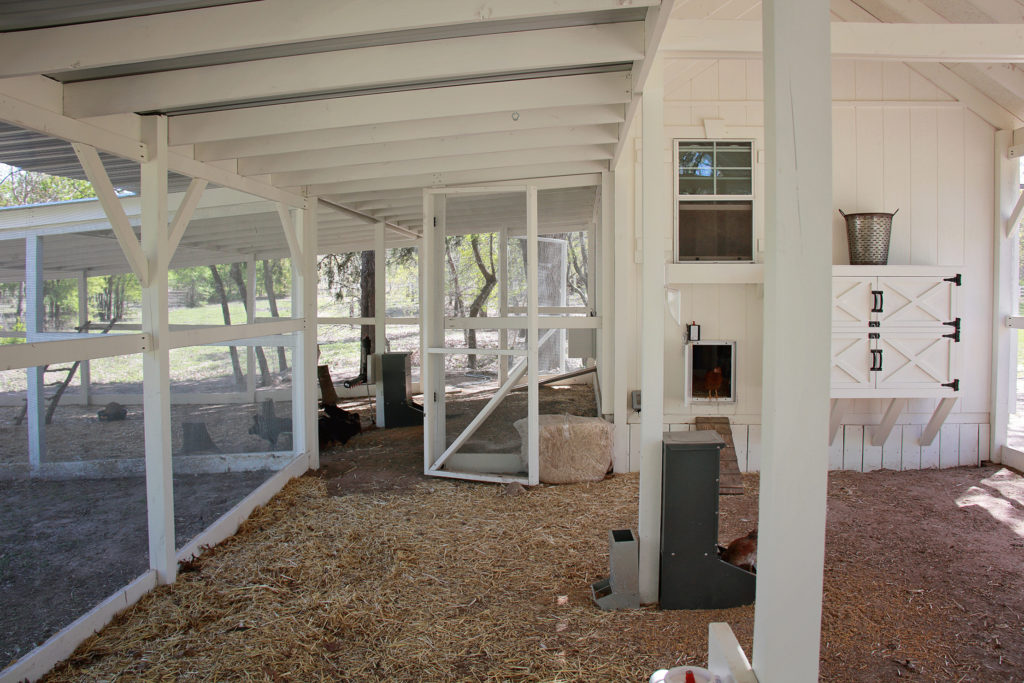
Inside the left side run, looking into the back run. You can see how we have a door that allows you to walk through both runs without having to go outside and around.
Corner view of the two runs
Back run looking into side run
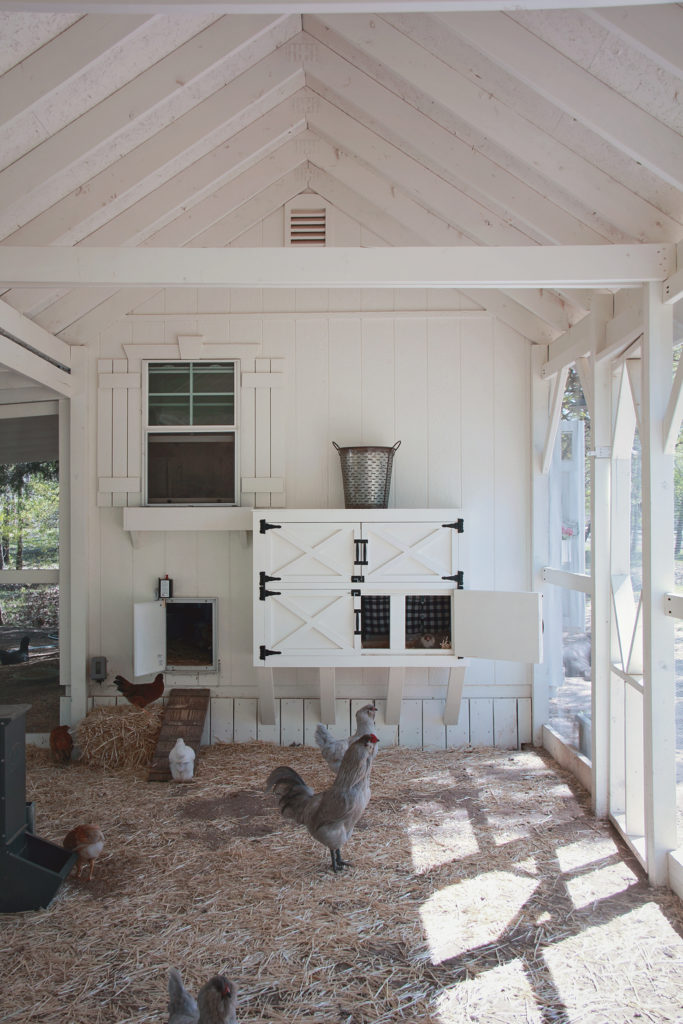
The Nesting Boxes:
Purchase the plans to build your own nesting boxes just like these
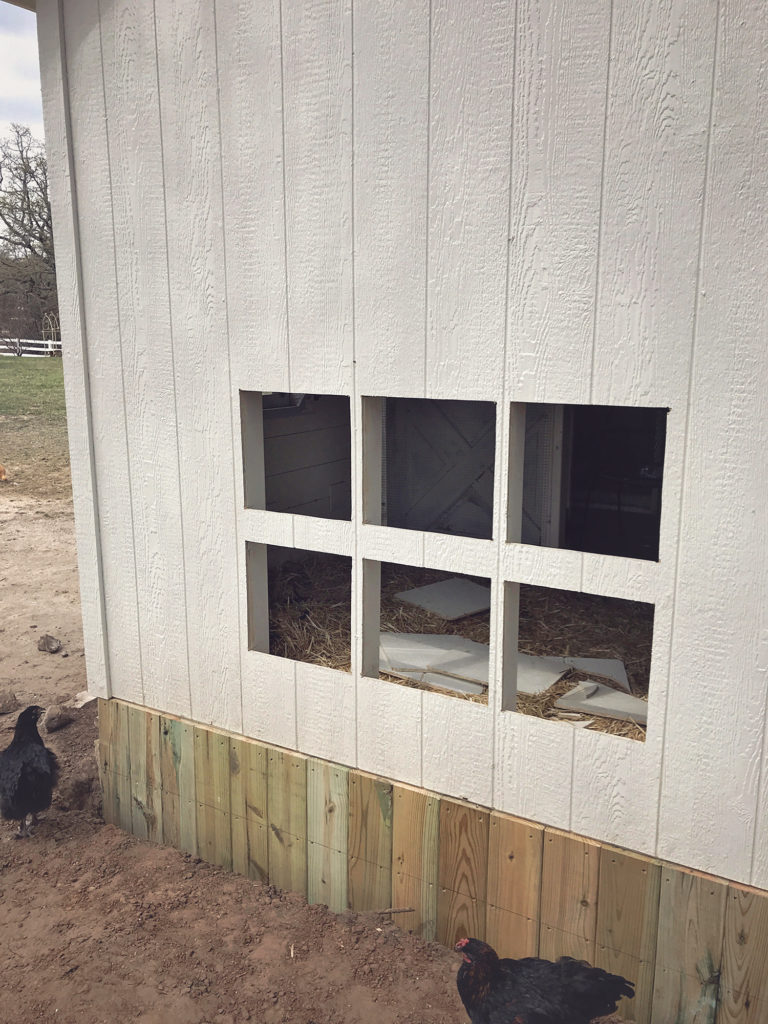
We began the build for our external nesting boxes late March 2018. It was double the amount of work because we had to once again build TWO sets since we have two coops. We settled on 6 nesting boxes for each coop (3 up and 3 down), since that is the number that would fit nicely in the existing structure of the inside walls.
We started by cutting out the spaces that would later become the entrances into the boxes on the external walls of the coop:
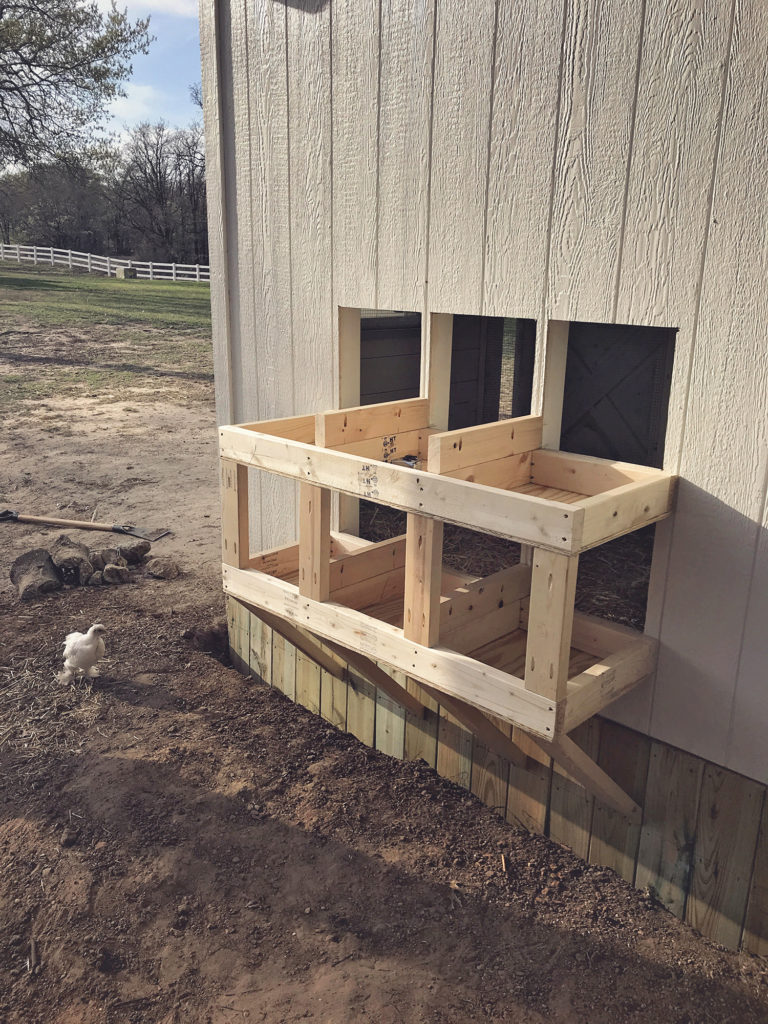
Then the bottom frames for each row of nesting boxes was constructed out of 2x4s:
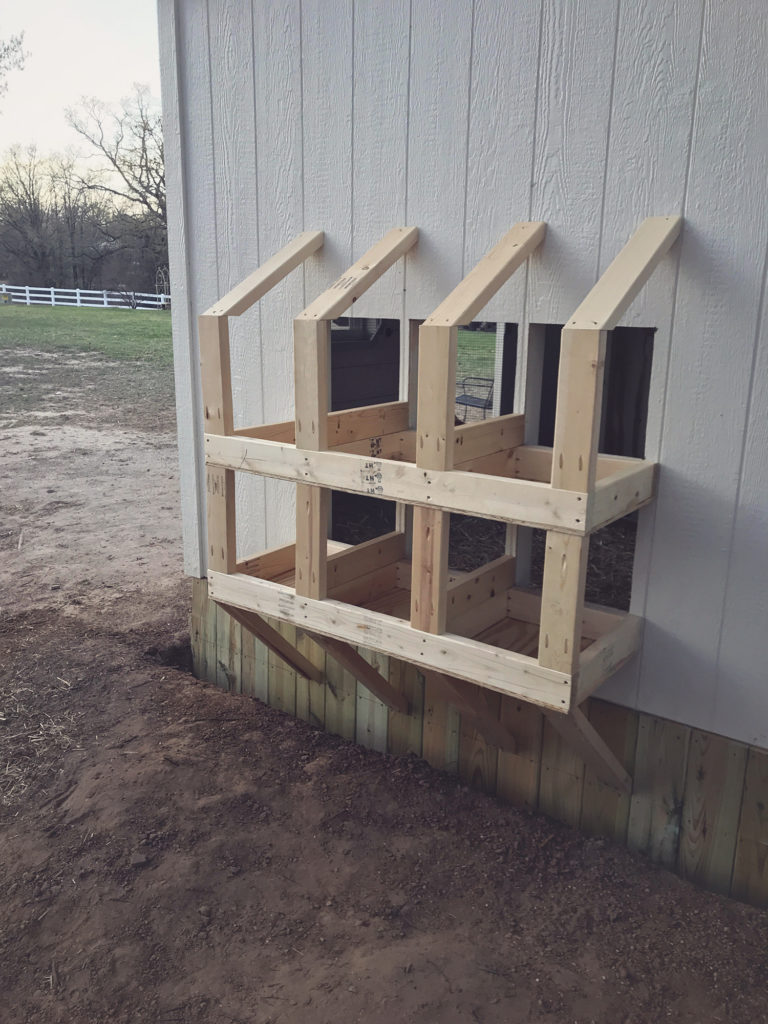
The roof support structure was attached:
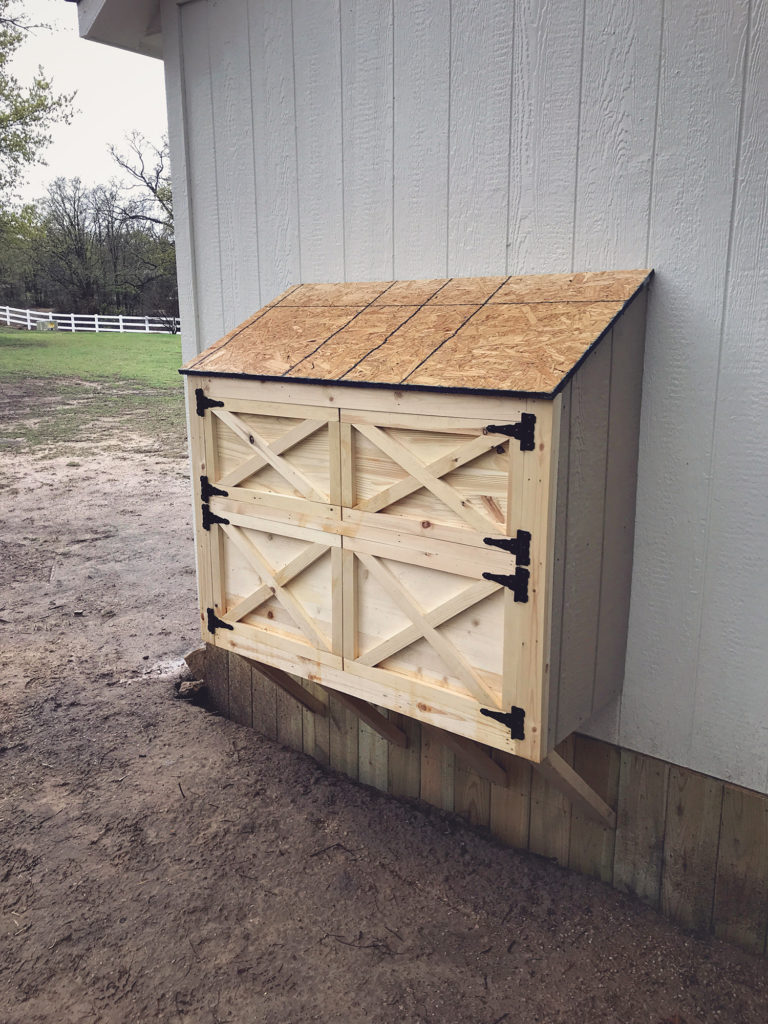
And the doors were made and attached by hinges to test the fit before it was time to paint:
All done…
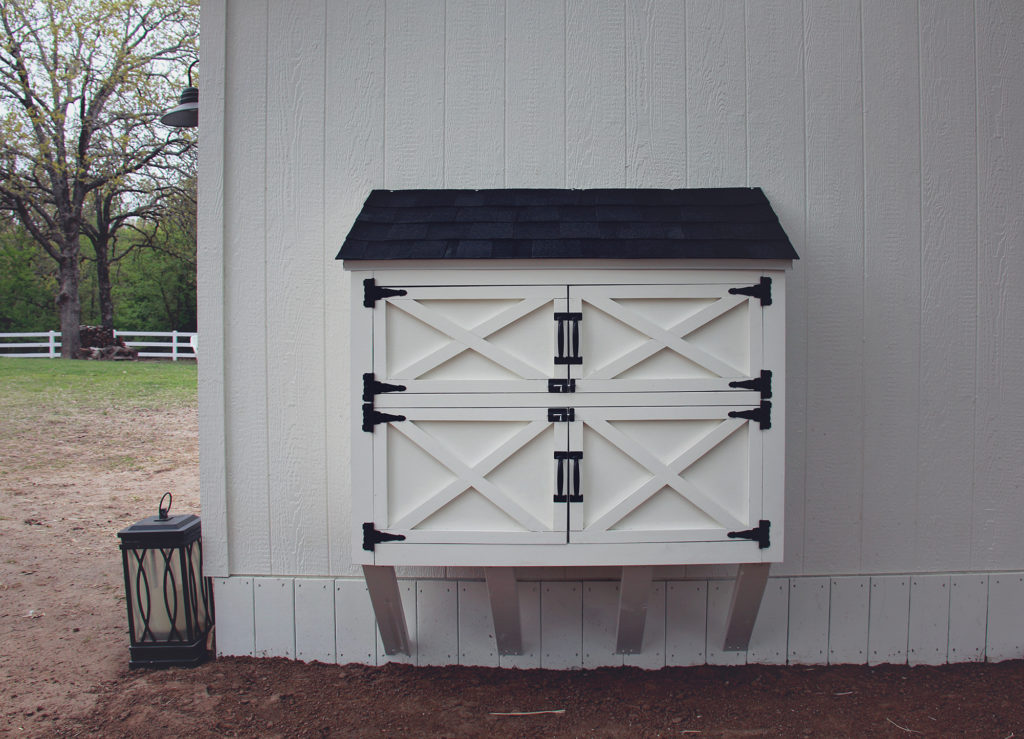
Painted, hardware on and angled roof is shingled to match the coop
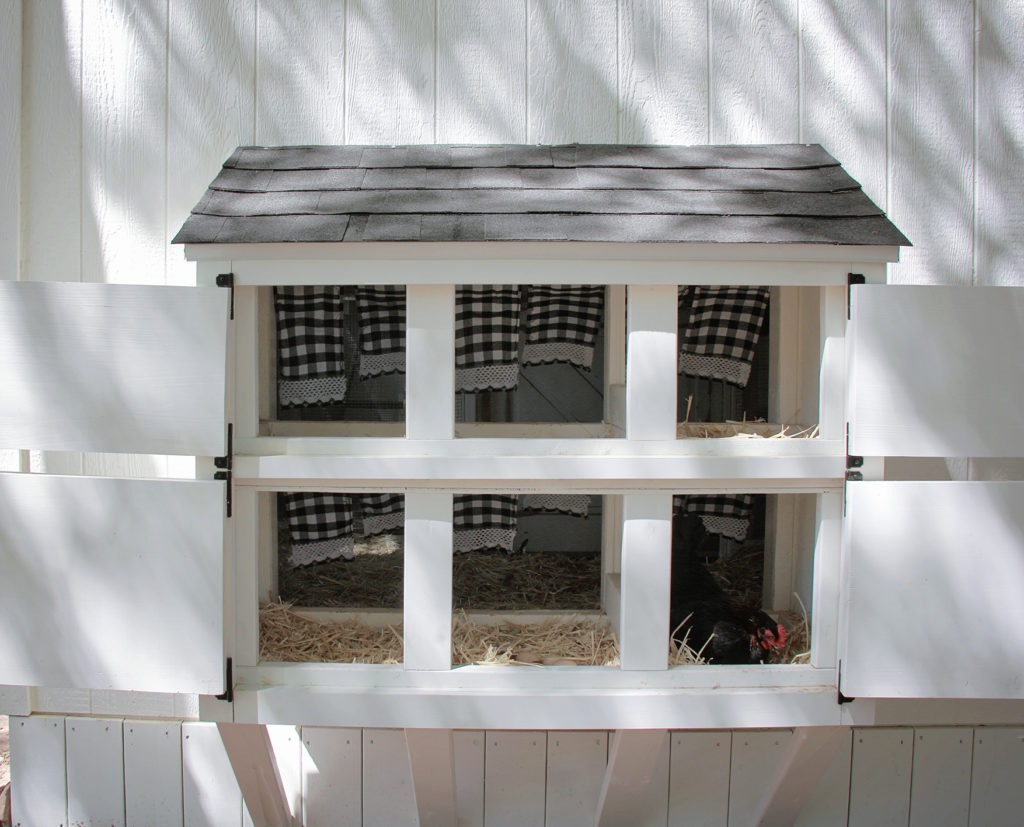
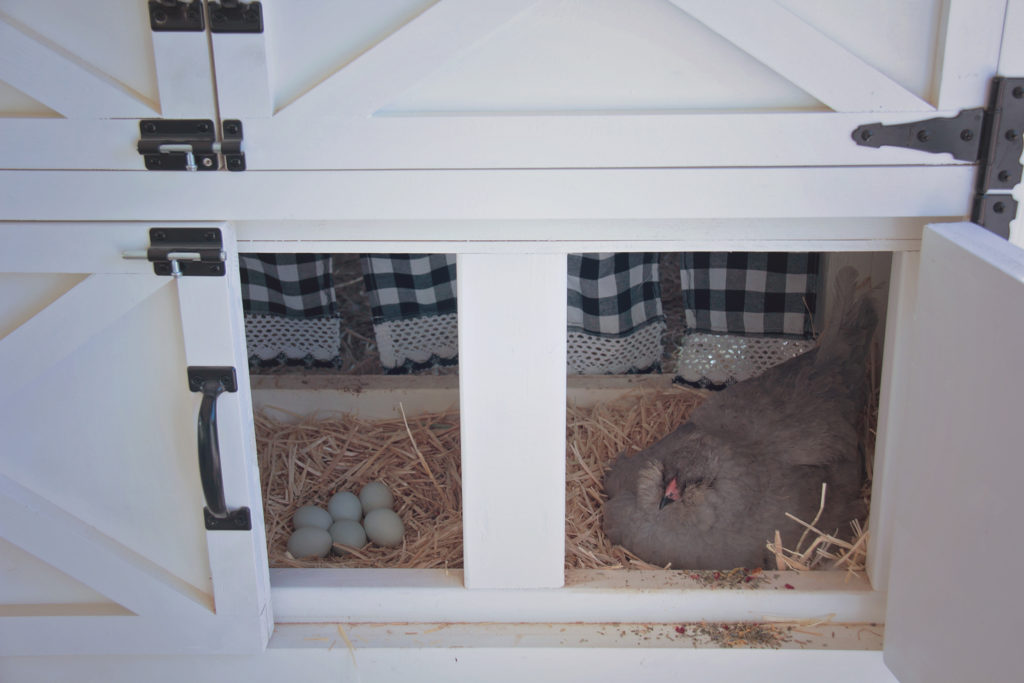
Nesting boxes open on a beautiful breezy day
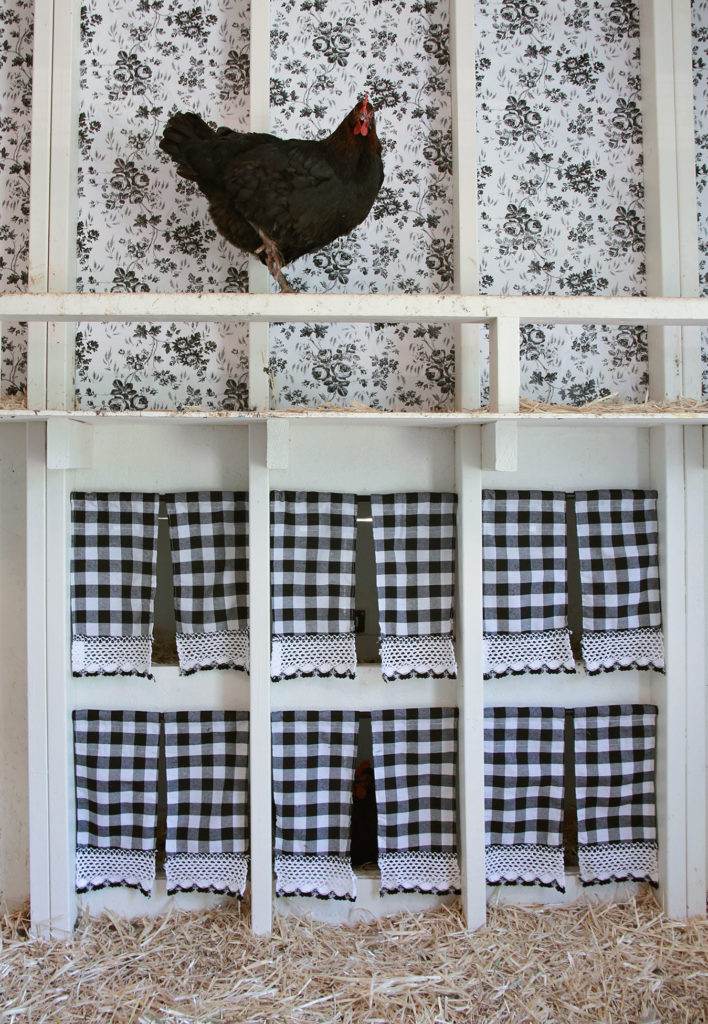
The nesting boxes from the inside of the right side coop
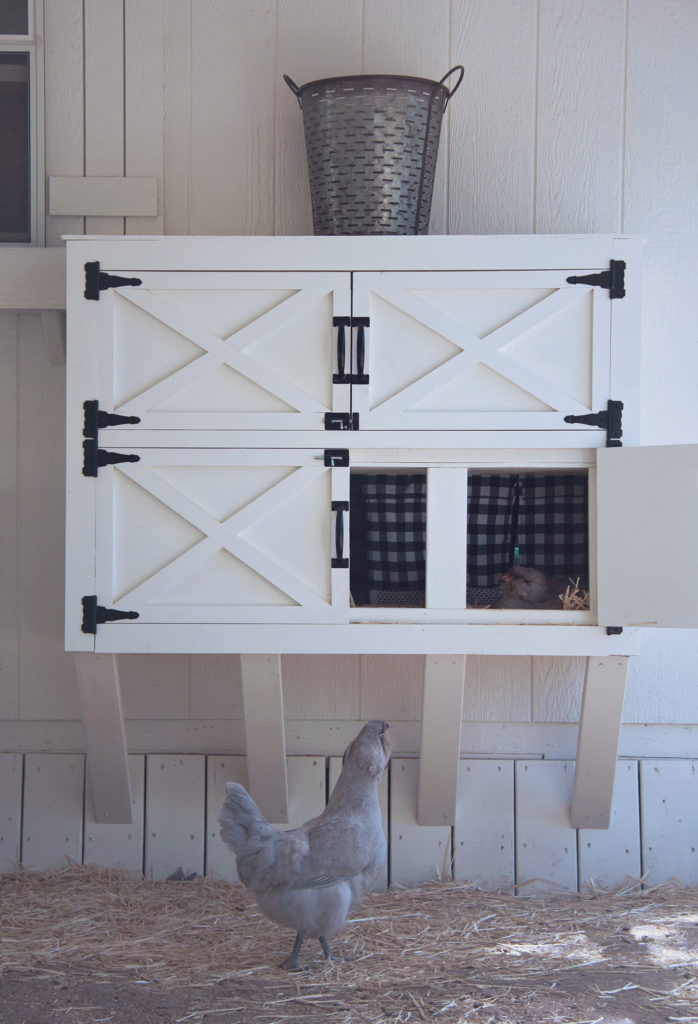
The nesting boxes on the other side of the coop have a flat top (to be used as an additional shelf for supplies) since these nesting boxes are inside the left side run and therefore don’t need an angled roof for rain runoff:
 Save
Save
SaveSave